
Is your outlet giving you less power than it should? Low voltage at an outlet can cause your devices to underperform or not work at all.
This issue isn’t just annoying—it can also be a sign of a bigger electrical problem that might affect your safety and your home’s electrical system. If you’ve noticed flickering lights, slow-charging gadgets, or appliances that won’t start, it’s time to find out what’s going on.
You’ll learn simple steps to check and fix low voltage at your outlets, helping you protect your home and keep your devices running smoothly. Keep reading—you don’t want to miss these easy, practical tips that could save you time and money.
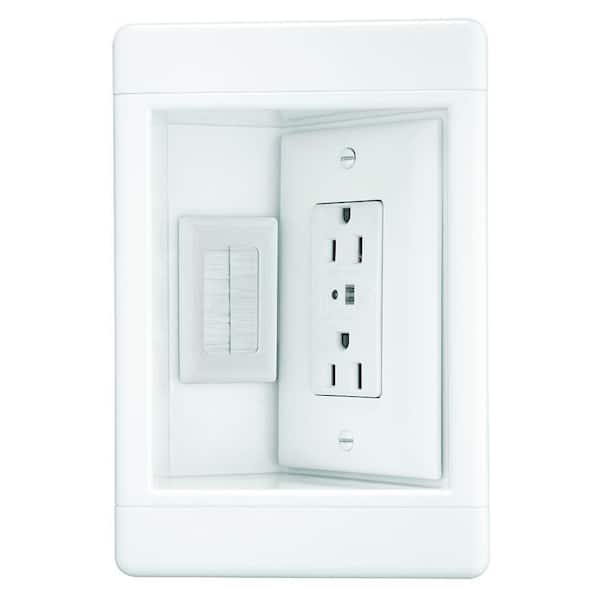
Credit: www.homedepot.com
Causes Of Low Voltage
Low voltage at an outlet can cause devices to perform poorly or not work at all. Understanding the causes helps to identify and fix the issue quickly. Several factors can lead to low voltage, ranging from wiring problems to circuit overloads.
Loose Wiring Connections
Loose wiring is a common cause of low voltage. Wires that are not tightly connected can reduce electrical flow. This issue often happens inside the outlet or at the circuit breaker. Checking and tightening connections can restore proper voltage.
Faulty Circuit Breakers
Circuit breakers protect your home’s electrical system. A faulty breaker may not supply full power to outlets. Sometimes breakers trip partially without fully switching off. Resetting or replacing the breaker can solve low voltage problems caused by this.
Overloaded Circuits
Overloading happens when too many devices run on one circuit. This can lower the voltage available to each outlet. Unplugging some devices or redistributing them to other circuits can improve voltage levels. Overload reduces safety and efficiency.
Damaged Outlets Or Wiring
Outlets or wires can get damaged by wear, pests, or moisture. Damaged wiring restricts electrical flow and causes low voltage. Replacing old or broken outlets and repairing wiring helps maintain stable voltage. Always inspect for visible damage.
Risks Of Low Voltage
Low voltage at an outlet poses serious risks to your home and appliances. It may seem like a small issue but can cause big problems. Understanding these risks helps you act fast and prevent damage or danger.
Low voltage means the electrical supply is weaker than normal. This condition stresses appliances and wiring, leading to several hazards.
Electrical Appliance Damage
Appliances need stable voltage to work well. Low voltage causes motors and compressors to overheat. This overheating shortens their lifespan. Electronics may malfunction or fail completely. Replacing damaged appliances costs time and money.
Fire Hazards
Low voltage makes electrical devices draw more current. This extra current heats wires and connections. Overheated wires may melt insulation and cause sparks. Sparks can ignite nearby materials and start fires. Fire risk increases with faulty or old wiring.
Reduced Appliance Efficiency
Appliances run slower and less effectively with low voltage. Lights may flicker or dim. Fans and pumps lose power and performance. This inefficiency wastes energy and raises bills. You get less value from your electrical devices.
Potential Electrical Shock
Loose or damaged wiring can result from low voltage issues. Exposed wires or faulty outlets increase shock risk. Electrical shock can cause injury or worse. Always handle electrical problems with caution and use a professional.
Safety Precautions
Safety comes first when dealing with low voltage at an outlet. Handling electrical issues without proper care can cause shocks or fires. Taking the right precautions protects you and your home from harm. Follow simple steps to stay safe while checking or fixing outlets.
Turning Off Power
Always switch off the power before touching any outlet. Find the correct circuit breaker in your electrical panel. Flip it to the off position to cut electricity to that outlet. Double-check by testing the outlet with a voltage tester. This step stops electric shocks and keeps you safe.
Using Proper Tools
Use tools designed for electrical work only. Insulated screwdrivers and voltage testers are best. Avoid using metal tools without insulation. This reduces the risk of electric shock. Handle wires gently to prevent damage. Proper tools make the job safer and easier.
When To Call An Electrician
Some problems need expert help. If you see burnt wires or smell burning, stop immediately. Faulty breakers or hidden wiring issues require a professional. Call a licensed electrician for these cases. They have the training to fix complex electrical problems safely.
Testing Voltage Levels
Testing voltage levels at an outlet helps identify electrical issues early. It ensures outlets supply the correct power for devices. Low voltage can cause appliances to malfunction or fail. Simple tests can detect if voltage drops below standard levels. Use basic tools and safety steps to check your outlets.
Using A Multimeter
A multimeter measures voltage accurately at the outlet. Set the device to AC voltage mode. Insert the probes into the outlet slots carefully. Read the voltage value displayed on the screen. Normal voltage should be around 120 volts in the US. Values significantly lower indicate low voltage problems.
Turn off the power before removing the outlet cover. This prevents electric shock during testing. After testing, turn power back on briefly to check voltage. Then switch it off again before handling wires.
Checking Multiple Outlets
Test other outlets on the same circuit to find the issue’s scope. If many outlets show low voltage, the problem may be in the circuit. Single outlet issues often relate to loose connections or outlet damage. Testing several outlets helps pinpoint where to focus repairs.
Compare voltage readings across outlets. This comparison reveals if one outlet is faulty or if the circuit has a general problem. Note any outlets with unusually low voltage for further inspection.
Inspecting Circuit Breakers
Circuit breakers protect your home’s electrical system. Check the breaker for the outlet’s circuit panel. Look for breakers that are tripped or partially switched off. Reset the breaker by switching it fully off, then back on. This can restore proper voltage to the outlets.
If breakers frequently trip or do not reset, they may be faulty. A weak breaker can cause low voltage or power loss. Contact a licensed electrician to inspect or replace damaged breakers safely.
Fixing Loose Connections
Loose connections often cause low voltage at outlets. Fixing these connections can restore proper power flow safely and quickly. Always turn off the power before starting any electrical work. This prevents shocks and injuries.
Carefully checking and tightening wires improves contact. This often resolves voltage drops. Use simple tools like a screwdriver and multimeter. Step-by-step, you can secure the outlet wires and fix loose connections.
Removing The Outlet Cover
Start by turning off the circuit breaker for safety. Use a screwdriver to remove the screws holding the outlet cover. Gently pull the cover away from the wall. This exposes the outlet and wiring behind it.
Be careful not to touch any wires yet. Check that power is off using a voltage tester. This step ensures a safe working area before moving on.
Tightening Wire Screws
Locate the screws on the sides of the outlet holding the wires. These screws connect the hot, neutral, and ground wires. Use a screwdriver to tighten each screw firmly. Avoid over-tightening as this can damage wires.
Loose screws cause poor contact and voltage drops. Tightening them improves the electrical connection. After tightening, check that wires are secure and not loose or frayed.
Securing Ground Wires
The ground wire is usually green or bare copper. It connects to a green screw or grounding terminal on the outlet. Make sure this wire is wrapped tightly around the screw. Tighten the screw to hold the wire firmly in place.
Ground wires prevent electrical shocks and improve safety. A loose ground connection can cause voltage issues. Secure grounding completes the outlet’s wiring and helps prevent electrical hazards.
Resetting And Inspecting Breakers
Resetting and inspecting breakers is a key step to fix low voltage at an outlet. Circuit breakers protect your home from electrical faults. Sometimes, they trip or fail, causing power issues. Checking breakers can restore normal voltage quickly and safely.
Resetting Tripped Breakers
First, locate your electrical panel. Find the breaker linked to the outlet with low voltage. A tripped breaker usually sits between “on” and “off” positions. Flip it fully to “off” and then back “on.” This resets the breaker and may fix the voltage problem.
After resetting, test the outlet voltage again with a multimeter. If voltage returns to normal, the issue was likely a tripped breaker. If the breaker trips again quickly, do not reset it multiple times. This signals a deeper electrical issue needing a professional.
Replacing Faulty Breakers
Breakers can wear out or become weak over time. A faulty breaker may fail to supply full voltage or trip frequently. Look for signs like heat, burn marks, or a breaker that won’t stay “on.” These signs suggest replacement is needed.
Replacing breakers requires safety knowledge and proper tools. Turn off the main power before starting. Remove the old breaker carefully and install a new one with the same rating. If unsure, hire a licensed electrician to avoid risks and ensure a safe repair.
Managing Overloaded Circuits
Managing overloaded circuits is key to fixing low voltage at an outlet. Overloaded circuits cause voltage drops and make devices work poorly. This happens when too many appliances draw power from one circuit. Reducing the load helps improve voltage and safety.
Unplugging Devices
Unplug devices that are not in use from the affected circuit. This reduces the demand on the circuit and helps restore proper voltage. Start by disconnecting high-power appliances first. Check if the voltage improves after unplugging each device. This simple step often solves low voltage issues quickly.
Redistributing Appliances
Move some appliances to different circuits to balance the load. Avoid plugging many heavy devices into one outlet or power strip. Spread out devices like heaters, microwaves, and air conditioners across multiple circuits. This prevents overload and maintains steady voltage at every outlet.
Replacing Damaged Outlets
Replacing damaged outlets is key to maintaining safe and reliable electrical power. A damaged outlet can cause low voltage and pose safety risks. Fixing or replacing these outlets restores proper function and prevents hazards.
Begin by carefully identifying the damage and then match the wire connections correctly. Accurate work ensures your outlet works safely and efficiently.
Identifying Outlet Damage
Look for visible signs of damage on the outlet. Cracks, burn marks, or discoloration suggest serious problems. A loose or broken outlet may also cause low voltage.
Test the outlet with a multimeter to confirm voltage levels. If voltage is lower than normal, damage is likely inside. Check the outlet faceplate and wiring for wear or corrosion.
Matching Wire Connections
Turn off power before handling wires to avoid shock. Remove the outlet from the wall box carefully. Note the position of each wire connected to the old outlet.
Match the hot (black), neutral (white), and ground (green or bare copper) wires to the same terminals on the new outlet. Tighten screws firmly to ensure a good connection.
Incorrect wiring can cause low voltage or create hazards. Double-check each wire’s position before restoring power. Proper wiring guarantees the outlet works safely and at full voltage.
When To Seek Professional Help
Low voltage at an outlet can be a sign of electrical issues that need expert attention. Knowing when to call a professional ensures safety and proper repairs. Some problems require skills beyond basic troubleshooting. Acting too late can risk damage or danger.
Complex Wiring Issues
Wiring inside walls can be complicated and hidden. Faulty connections or damaged wires need careful inspection. Professionals have the tools to find and fix these safely. DIY attempts may cause more harm or short circuits. Complex wiring problems demand trained electricians to prevent risks.
Persistent Voltage Problems
Low voltage that returns after basic fixes is a warning sign. Persistent problems may stem from deeper electrical faults. These can include bad breakers, loose neutral wires, or poor grounding. A professional can diagnose and repair these correctly. Ignoring ongoing voltage issues can harm devices and create fire hazards.
Ensuring Compliance With Electrical Codes
Electrical work must follow local safety codes and standards. Professionals understand these rules and apply them during repairs. This ensures your home stays safe and passes inspections. Non-compliance can lead to fines and insurance issues. Hiring a licensed electrician guarantees proper code adherence.
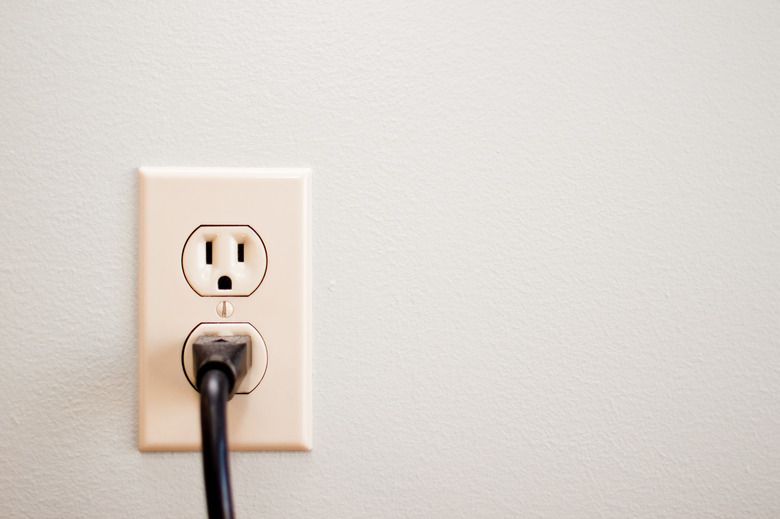
Credit: www.hunker.com
Final Testing After Repairs
Final testing after repairs is essential to confirm the outlet works correctly. It ensures the low voltage issue is fully resolved. Careful testing protects your home and devices from electrical problems.
After completing repairs, do not rush. Follow a step-by-step approach to test the outlet safely. This helps catch any remaining faults or loose connections.
Turning Power Back On
Turn the circuit breaker back on carefully. Watch for any sparks or unusual sounds. If everything looks safe, restore power to the outlet.
Do not touch the outlet until you restore power. Use caution and stand clear of exposed wires. Safety first.
Verifying Voltage Stability
Use a multimeter to check the voltage at the outlet. The reading should be close to 120 volts. If voltage is steady, repairs are successful.
Test the outlet multiple times to ensure stable voltage. Check nearby outlets on the same circuit for consistent power. Stability means no more low voltage issues.
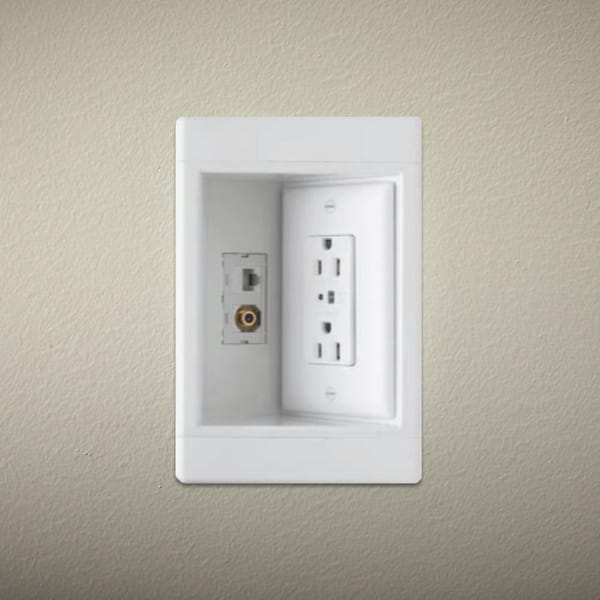
Credit: www.homedepot.com
Frequently Asked Questions
How Do You Fix An Outlet With Low Voltage?
Turn off power and test voltage with a multimeter. Tighten loose outlet and breaker connections. Reset or replace faulty breakers. Unplug devices to reduce overload. Replace damaged outlets. Call a licensed electrician if issues persist.
What Would Cause Low Voltage On An Outlet?
Low voltage on an outlet often results from loose wiring, a tripped or faulty breaker, damaged wiring, or an overloaded circuit. Tighten connections, reset breakers, and inspect for damage to fix it. Call an electrician if the issue persists or if you feel unsafe handling electrical work.
Can A Bad Breaker Cause Low Voltage?
Yes, a bad breaker can cause low voltage by failing to deliver consistent power. It may need resetting or replacement.
How Do I Fix A Low Voltage Code?
Turn off power, test voltage with a multimeter, and tighten loose outlet and breaker connections. Reset the breaker. Unplug devices to avoid overload. Replace damaged outlets or wiring. Call a licensed electrician if issues persist or for safety concerns.
What Causes Low Voltage At An Electrical Outlet?
Loose wiring, overloaded circuits, faulty breakers, or damaged outlets often cause low voltage.
Conclusion
Low voltage at an outlet can cause many problems in your home. Check connections and tighten loose wires carefully. Test the circuit breaker for any trips or faults. Unplug some devices to reduce overload on the circuit. Inspect the outlet and wiring for damage or wear.
Replace the outlet if it looks old or faulty. Always prioritize safety and turn off power before working. When unsure, call a licensed electrician to avoid risks. Keeping your outlets working well protects your devices and home.