
Are you frustrated by drywall seams showing in your ceiling? Those visible lines can make your room look unfinished or poorly maintained, even if the rest of your walls are flawless.
You’re not alone—many homeowners face this issue, and it’s often caused by normal settling, humidity changes, or imperfect drywall installation. But here’s the good news: you don’t have to live with those seams staring back at you every time you look up.
You’ll discover simple, effective ways to fix and hide those drywall seams, giving your ceiling a smooth, polished look that enhances your entire space. Keep reading to learn how you can tackle this common problem yourself and enjoy a ceiling that looks flawless for years to come.
Credit: www.doityourself.com
Causes Of Ceiling Drywall Seams
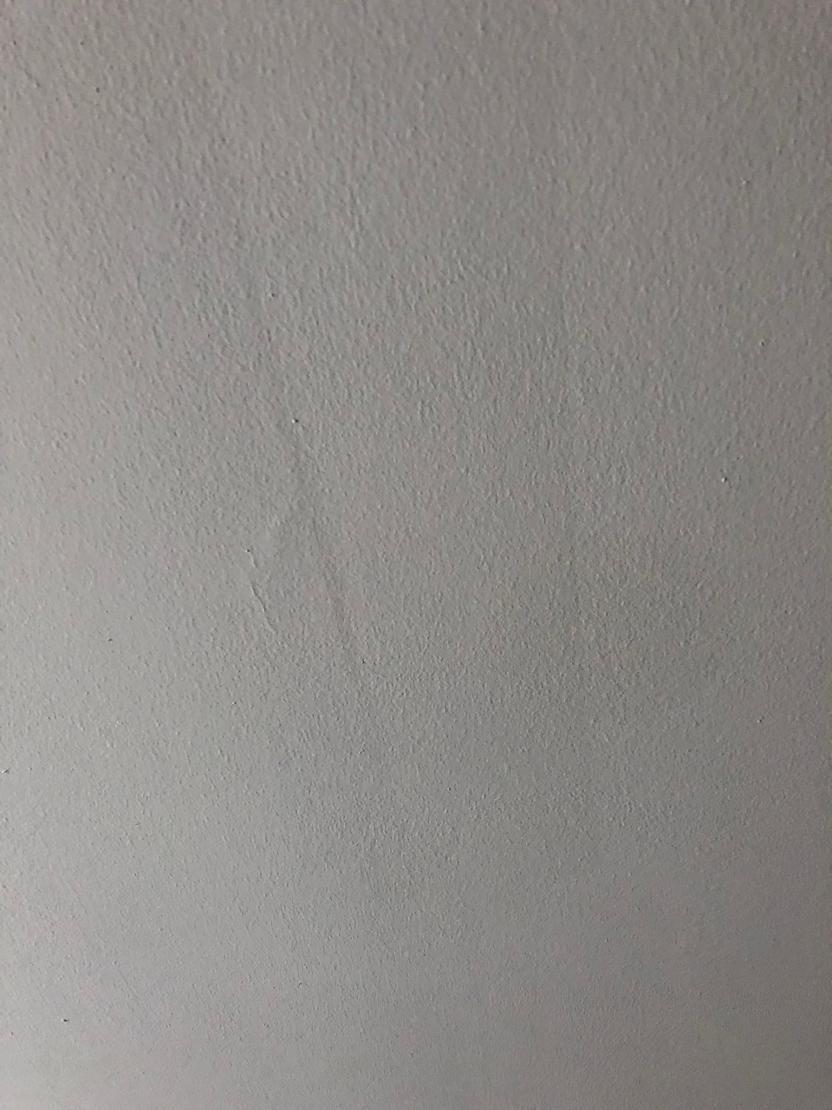
Ceiling drywall seams become visible for several reasons. Understanding these causes helps in preventing and fixing the issue. Seams appear where drywall panels meet. Several factors affect how noticeable these seams are over time. The causes range from normal installation features to environmental effects and structural changes.
Normal Seams In Drywall Panels
Drywall panels come in standard sizes and are joined together at seams. These seams are a natural part of drywall installation. Even skilled installers cannot make seams completely invisible. Joint compound and tape help smooth the seams, but minor lines may still show. Over time, lighting and shadows can make seams more noticeable.
Effects Of Humidity And Moisture
Humidity and moisture cause drywall to expand and contract. High moisture in the air can make seams swell and crack. Moisture also weakens the joint compound and tape. This leads to peeling and visible lines along the seams. Poor ventilation and water leaks increase this risk. Controlling humidity helps keep seams less visible.
Movement And Structural Shifts
Homes settle and shift over time. This natural movement causes drywall panels to move slightly. When panels shift, seams can crack or separate. Temperature changes also cause expansion and contraction. Structural shifts put stress on the drywall joints. These shifts cause seams to show more clearly on ceilings.
Tools And Materials Needed
Fixing drywall seams showing on your ceiling needs the right tools and materials. Using proper supplies makes the job easier and the finish smoother. This section explains what you need for a professional look.
Joint Compound Types
Joint compound fills gaps and smooths seams. Ready-mix compounds are easy to use and good for beginners. Setting-type compounds dry faster and are stronger. Choose lightweight joint compound for less cracking. Pick the type based on your project size and drying time needs.
Drywall Tape Options
Drywall tape covers the seams to prevent cracks. Paper tape is common and strong but needs careful embedding. Fiberglass mesh tape is self-adhesive and resists mold. Use paper tape for flat ceilings and mesh tape for curved surfaces or quick fixes. Select tape that fits your skill level and ceiling shape.
Sanding And Finishing Tools
Sanding tools smooth out the dried joint compound. Use a sanding block or pole sander with fine-grit sandpaper. A sanding sponge works well for corners and small areas. Wear a dust mask to protect your lungs. A putty knife helps spread the compound evenly. Finish with a clean cloth to wipe dust before painting.
Preparing The Seam Area
Preparing the seam area is the first step to fix drywall seams showing in the ceiling. Proper preparation ensures a smooth, even surface for taping and finishing. It helps to prevent future cracks and visible lines. Taking time to prepare the seams well makes the repair last longer and look better.
Cleaning Loose Debris
Remove all loose debris from the seam area. Use a brush or vacuum to clear dust and small particles. Clean seams help joint compound stick better. Avoid leaving any dirt or old tape bits behind. A clean surface ensures a strong bond and a smooth finish.
Cutting V-notch In Seams
Cut a shallow V-notch along the seam with a utility knife. This groove creates space for the joint compound. It helps the compound fill the gap completely. A V-notch prevents the seam from showing after drying. Be careful not to cut too deep and damage the drywall panels.
Securing Drywall Panels
Check the drywall panels around the seam. Tighten or add screws if panels feel loose. Secure panels reduce movement that causes cracks. Use a screwdriver to fasten screws just below the surface. Properly fixed panels provide a stable base for taping and finishing.
Applying Joint Compound And Tape
Applying joint compound and tape is key to hiding drywall seams on ceilings. This process strengthens joints and creates a smooth surface. Proper technique helps avoid visible lines and bumps. Patience and care make a big difference in results.
Mixing Compound For Seams
Start with a clean bucket and fresh joint compound. Mix the compound to a smooth, creamy consistency. Avoid lumps or thick patches. A good mix spreads easily and sticks well. Use a drill mixer or a hand paddle for best results.
Embedding Drywall Tape
Apply a thin layer of joint compound over the seam. Lay the drywall tape carefully on top. Press the tape gently into the compound with a drywall knife. Remove air bubbles and wrinkles by smoothing firmly. The tape should be flat and fully covered with compound.
Smoothing Initial Coat
Spread a thin, even coat of compound over the taped seam. Use long, smooth strokes with a wide drywall knife. Feather the edges to blend into the ceiling surface. Let the compound dry completely before sanding or adding more coats. This step sets the base for a flawless finish.
Multi-coat Finishing Process
The multi-coat finishing process is essential for hiding drywall seams on ceilings. It involves applying several layers of joint compound to create a smooth, even surface. This method reduces the chance of seams showing through paint or lighting. Patience and attention to detail make a big difference in the final look.
Applying Second And Third Coats
After the first coat dries, apply a second coat of joint compound. Use a wider knife to spread the compound beyond the seam edges. This helps cover any ridges and creates a flat surface. Apply a third coat if needed to perfect the finish. Each coat should be thinner than the last for a natural look.
Feathering Edges For Blend
Feathering means smoothing the edges of each coat so they blend into the ceiling. Use light pressure with the knife to thin the compound at the edges. This avoids sharp lines that catch light and show seams. Feathering is key to making seams disappear, especially on flat ceilings.
Drying Time Between Coats
Allow each coat to dry completely before adding the next one. Drying time depends on temperature and humidity but usually takes 12 to 24 hours. Rushing this step can cause cracks or uneven surfaces. Proper drying ensures a strong, smooth finish ready for sanding and painting.
Sanding And Surface Preparation
Proper sanding and surface preparation are key to hiding drywall seams on ceilings. Smooth surfaces help paint stick and look flawless. Careful sanding removes bumps and uneven areas that catch the light. This step ensures the joint blends perfectly with the rest of the ceiling.
Light Sanding Techniques
Start with fine-grit sandpaper, around 120 to 150 grit. Use a sanding block or sponge to keep pressure even. Light, circular motions work best to avoid deep scratches. Focus on the seam areas but blend edges into the surrounding drywall. Avoid heavy sanding that can damage the drywall tape.
Removing High Spots And Ridges
Check for raised lines along the seams after the joint compound dries. Use a drywall rasp or sanding pole to gently shave down ridges. Move slowly and test your progress by touch. Smooth surfaces prevent shadows and seam lines from showing after painting. Reapply a thin coat of joint compound if needed, then sand again.
Cleaning Surface Before Painting
Remove all dust with a damp cloth or sponge before priming. Dust blocks paint adhesion and creates a rough finish. Allow the ceiling to dry completely after cleaning. Properly cleaned and sanded surfaces make paint coverage even. This final step helps your ceiling look flawless and hides all drywall seams.
Additional Tips For Ceiling Seams
Dealing with drywall seams showing on your ceiling can be frustrating. There are extra steps that help improve the finish. These tips can help hide seams better and keep your ceiling looking smooth. Follow simple methods to protect and maintain ceiling seams for a long-lasting result.
Using Vinyl Ceiling Beads
Vinyl ceiling beads are a smart choice for hiding seams. They fit along corners or angles where drywall panels meet. These beads cover seams and add strength to the joint. They resist cracking and help keep the finish neat. Installing them requires applying joint compound and embedding the bead in place. Once dry, sand and paint for a clean look.
Preventing Future Seam Issues
Prevent seam problems by controlling moisture and temperature. High humidity can cause seams to expand and crack. Use proper ventilation in rooms like kitchens and bathrooms. Avoid rapid temperature changes that stress drywall joints. Also, use quality tape and compound during installation. Taking care early stops seam lines from showing later.
When To Call A Professional
Some seam problems need expert help. If seams keep cracking or bulging after repairs, call a professional. Large ceiling areas with many seam issues may require skilled drywall installers. Experts can identify underlying causes, like structural movement or moisture damage. Hiring a pro saves time and ensures a smooth, lasting ceiling finish.

Credit: diy.stackexchange.com
Frequently Asked Questions
Why Are My Ceiling Seams Showing?
Ceiling seams show due to drywall panel joints and slight unevenness. Moisture, poor taping, or settling can worsen visibility. Proper taping, joint compound, and sanding hide seams effectively.
Is It Normal To See Lines In The Ceiling?
Yes, seeing lines in the ceiling is normal. They are drywall seams between panels, often slightly visible despite skilled installation.
How To Hide Drywall Seams In A Ceiling?
Clean the seam and carve a V-notch if needed. Apply joint compound, embed drywall tape, then smooth and feather multiple thin coats. Sand between coats until seamless. Prime and paint to finish.
How Do You Fix Visible Drywall Seams?
Clean the seam, carve a V-notch if needed, then apply joint compound and embed drywall tape. Apply two more thin coats, sanding between each until smooth. Finally, prime and paint to blend the seam with the wall.
Why Are Drywall Seams Showing On My Ceiling?
Drywall seams show because panels meet and cannot be perfectly smooth or flush.
Conclusion
Drywall seams showing on ceilings are common and fixable. Proper cleaning and taping improve the surface greatly. Applying multiple thin coats of joint compound hides seams well. Sanding between coats ensures a smooth, even finish. Patience and care make the ceiling look seamless and neat.
Regular maintenance prevents cracks and visible lines over time. With simple steps, any homeowner can restore a flawless ceiling. Small fixes bring big improvements to your home’s appearance.