
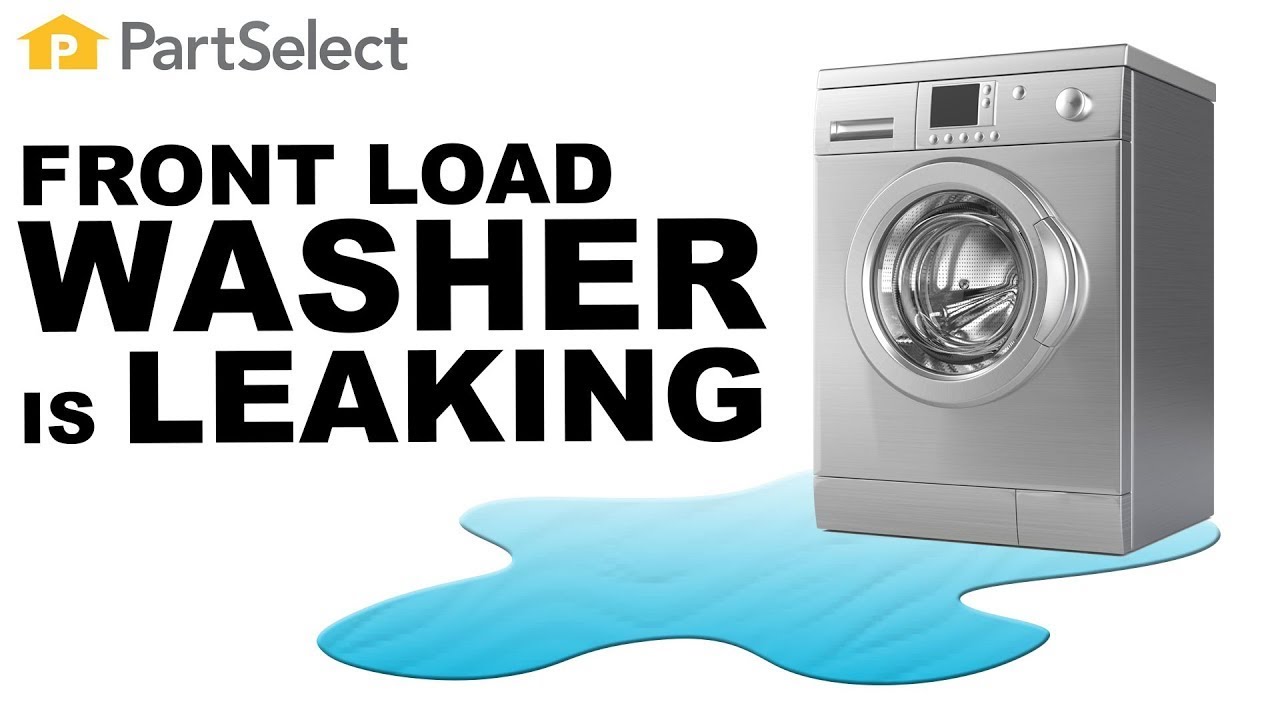
Is your washer leaking from the bottom? This is a frustrating problem that can cause water damage and disrupt your laundry routine.
You might feel unsure about what’s causing the leak or how to fix it. The good news is that many common issues behind a washer leaking from the bottom are simple to identify and often easy to repair. You’ll learn clear, step-by-step advice to help you find the source of the leak and get your washer back in perfect working order.
Keep reading to save time, avoid costly repairs, and protect your home from water damage.

Credit: www.nelaappliancerepair.com
Safety First
Water leaking from the bottom of your washer can cause serious hazards. Electrical shocks and water damage are real risks. Take safety steps before any inspection or repair. These steps protect you and your home from harm.
Always handle the washer carefully. Do not rush repairs without proper safety measures. Follow these two crucial safety steps first.
Unplug The Washer
Disconnect the washer from the power source. This stops any electric current from flowing. It prevents electric shock while you work on the machine. Never touch the washer’s internal parts while it is plugged in.
Unplugging also avoids short circuits caused by water inside the machine. Always pull the plug from the socket, not the cord. This keeps the cord safe from damage.
Turn Off Water Supply
Shut off both hot and cold water valves connected to the washer. This stops more water from leaking out. It helps prevent flooding and water damage to floors.
Locate the water valves behind the washer or under the sink. Turn them clockwise until tight. Double-check that no water flows when you try to run the washer.
:max_bytes(150000):strip_icc()/why-is-my-washing-machine-leaking-2147313-FINAL-5bbfa6cd46e0fb0026ddeeea.png)
Credit: www.thespruce.com
Check External Drain Hose
Checking the external drain hose is key when your washer leaks from the bottom. This hose carries water out of the machine during draining. Any damage or loose connection here can cause leaks. Examining the hose carefully helps find and fix the problem quickly.
Inspect Hose For Damage
Look closely at the entire length of the drain hose. Watch for cracks, holes, or worn spots. Even small tears can let water escape. Feel the hose for soft or weak areas that may burst under pressure. Replace the hose if you see any damage. A strong, intact hose keeps water flowing properly.
Ensure Proper Connections
Check the hose where it connects to the washer and the drain pipe. Both ends must fit tightly without gaps. A loose connection can drip water during draining. Secure the hose clamps firmly, but do not overtighten. Proper connections stop leaks and keep your floor dry.
Inspect Drain Pump
Inspecting the drain pump is a key step when your washer leaks from the bottom. The pump moves water out of the machine during the drain cycle. A damaged or loose pump can cause water to leak. Checking the drain pump helps identify leaks and prevents further damage. Follow simple steps to inspect and fix the pump easily.
Locate The Pump
First, unplug the washer for safety. The drain pump is usually at the bottom of the washer. It can be at the front or back side. Remove the access panel to see inside. The pump looks like a small motor with hoses attached. Finding the pump is important before inspecting it closely.
Check Hoses And Clamps
Look at the hoses connected to the pump. They carry water to and from the pump. Check for cracks, holes, or wear on the hoses. Also, check the metal or plastic clamps holding the hoses. Loose clamps can cause leaks. Tighten or replace any damaged hoses or clamps. This step often stops leaks without needing pump replacement.
Tighten Or Replace Parts
Check if the pump itself is loose. Tighten any screws or clips holding the pump in place. If the pump is cracked or broken, replace it with a new one. Pumps are affordable and easy to swap. Make sure all parts fit tightly to avoid leaks. After fixing, test the washer by running a short cycle to confirm the leak is gone.
Examine Tub Seal
The tub seal is a small part but very important. It keeps water inside the washer tub. If the tub seal breaks or wears out, water can leak from the bottom of the machine. Checking the tub seal helps find the cause of leaks fast.
Most washers have a rubber seal around the tub shaft. This seal stops water from escaping where the tub spins. Over time, the seal can crack, tear, or harden. Dirt and soap buildup can also damage it. A bad tub seal means water will drip inside the washer and leak out below.
Signs Of Seal Damage
Look for wet spots under your washer after a cycle. A puddle often means the tub seal is bad. You may also smell mildew or see rust on metal parts near the seal. Sometimes, you hear a grinding or squeaking noise during spinning. These sounds show the seal may be worn out or broken.
Check the seal for visible cracks or tears. Feel if it is dry or hard instead of flexible. Water stains or mold around the seal also indicate damage. These signs mean the tub seal cannot keep water inside properly.
When To Replace Seal
Replace the tub seal if you see cracks or tears. If the seal feels stiff or brittle, it cannot work well. Water leaks that happen every time you wash clothes mean the seal is failing. Rust or mold growth near the seal also calls for a new one.
Do not delay replacing a damaged tub seal. Water leaks can cause more damage to your washer or floor. A new seal stops leaks and helps your washer work better. Changing the seal early saves money on bigger repairs later.
Assess Fill Hoses
Assessing the fill hoses is a key step when your washer leaks from the bottom. These hoses carry water into the machine and must be secure and intact. Damaged or loose hoses often cause leaks that pool beneath the washer. Checking these parts can quickly identify the source of the problem.
Check Internal Connections
Begin by inspecting the internal connections of the fill hoses. Look where the hoses attach to the water inlet valve on the washer. Ensure the clamps are tight and the hoses are not cracked or swollen. Loose connections allow water to escape, causing leaks on the floor. Replace any worn or brittle hoses to maintain a proper seal.
Consider Hose Upgrades
Standard rubber fill hoses wear out faster and may burst over time. Consider upgrading to braided stainless steel hoses. These hoses resist damage and last longer under pressure. Upgrading reduces the risk of leaks and protects your home from water damage. Always choose hoses that fit your washer’s specifications for the best results.
Level The Washer
Leveling the washer is a key step to stop leaks from the bottom. An uneven washer can cause water to spill out during cycles. Proper balance also reduces noise and wear on the machine parts. Checking and adjusting the washer’s level ensures smooth operation and prevents water damage.
Many leaks happen because the washer rocks or vibrates too much. This movement loosens hoses or causes cracks. Keeping the washer stable helps keep all connections tight and secure. Follow simple steps to check and fix the washer’s level.
Use A Level Tool
Place a level tool on top of the washer. Check if the bubble is centered between the lines. Test the level from front to back and side to side. This shows if the washer stands evenly on the floor. If the bubble is off-center, the washer is not level.
Using a level tool is quick and accurate. It helps spot small tilts that you might not see. A perfectly level washer reduces movement during spinning. This lowers the risk of leaks and damage.
Adjust Feet For Balance
Most washers have adjustable feet at each corner. Turn the feet clockwise or counterclockwise to raise or lower them. Adjust each foot until the level tool shows the washer is balanced. Make sure all feet sit firmly on the floor.
Check stability by gently rocking the washer. It should not wobble or tip. Tighten the locking nuts on each foot to keep them in place. Balanced feet keep the washer steady and stop leaks caused by vibrations.
Evaluate Detergent Use
Evaluating detergent use plays a crucial role in preventing washer leaks from the bottom. Using the right amount and type of detergent helps maintain the washer’s internal parts. This reduces the risk of excessive suds that can cause water to spill out. Proper detergent use also keeps the machine clean and running smoothly.
Avoid Excessive Suds
Excessive suds create extra pressure inside the washer. This pressure can push water out through seals or hoses. Using too much detergent often causes this problem. Follow the detergent instructions carefully. Use only the recommended amount for your load size. High-efficiency washers need low-sudsing detergent to avoid leaks.
Choose Suitable Detergent
Select detergent made for your washer type. High-efficiency washers require HE detergent to work properly. Regular detergents produce too many suds in these machines. This leads to leaks and poor washing results. Using the correct detergent protects the washer’s seals and hoses. It helps keep the machine leak-free and efficient.
Credit: www.youtube.com
Inspect Door Seal
The door seal is a key part of your washing machine. It keeps water inside during the wash cycle. A damaged or dirty door seal can cause leaks from the bottom.
Check the seal closely for cracks, tears, or buildup. Water can escape if the seal does not close tightly. Regular inspection helps avoid leaks and costly repairs.
Clean Gasket And Glass
Dirt and soap scum can build up on the gasket and glass. This buildup prevents a proper seal. Use a soft cloth and mild cleaner to wipe the gasket and glass.
Make sure to clean all folds and edges of the gasket. Dry the area thoroughly after cleaning. Clean seals fit better and reduce water leakage.
Replace If Damaged
Look for cracks, holes, or tears in the door seal. Damage can cause water to leak from the bottom. Replace the seal if you find any damage.
Purchase the correct seal model for your washer. Follow the manufacturer’s instructions to fit the new seal. A new seal restores the watertight barrier and stops leaks.
Clean The Filter
Cleaning the filter is an important step when your washer is leaking from the bottom. A clogged filter can cause water to back up and leak out. Regularly cleaning the filter helps your washing machine work smoothly. It also prevents small debris from blocking the water flow.
Locate The Filter
Most washing machine filters are near the bottom front of the machine. Look for a small door or panel you can open. In some models, you may need to remove a cover with a screwdriver. The filter is usually round and easy to spot once the panel is open. Knowing where the filter is helps you clean it quickly and safely.
Remove Debris
After opening the filter cover, place a towel or shallow tray underneath. Water may spill out during cleaning. Unscrew or pull out the filter gently. Check inside for lint, coins, or small objects. Remove all debris by hand or with a soft brush. Rinse the filter under running water to clear any remaining dirt. Put the filter back securely to avoid leaks.
When To Call A Professional
Deciding when to call a professional for a washer leaking from the bottom saves time and prevents damage. Some leaks require expert tools and knowledge for safe repair. Recognizing these signs helps avoid costly mistakes.
Persistent Or Large Leaks
Leaks that continue despite basic checks need professional help. A large puddle under the washer signals a major issue. Professionals can find hidden problems causing constant leaks.
Leaks During Spin Cycle
Leaks that happen only during the spin cycle might involve internal parts. The tub seal or drum could be damaged. Repairing these parts requires opening the machine carefully.
Electrical Issues Or Strange Noises
Unusual sounds or electrical problems with a leaking washer need a technician. Water and electricity together are dangerous. Experts can safely fix electrical faults and leaks.
Complex Internal Repairs
Replacing a drain pump or fixing internal hoses is tricky. Without experience, you might cause more damage. Professionals have the right tools and skills for these repairs.
Warranty And Safety Concerns
Calling a professional keeps your warranty valid. DIY repairs might void it. Trained technicians follow safety rules to protect your home and family.
Frequently Asked Questions
How To Fix A Washing Machine Leaking From The Bottom?
Unplug the washer and turn off water. Check drain hose and pump for damage or looseness. Inspect tub seal for leaks during spin. Tighten fittings and level the machine to prevent vibrations and spills. Replace faulty parts as needed.
Is It Worth Fixing A Leaking Washing Machine?
Fixing a leaking washing machine is worth it if repair costs are lower than replacement. Quick fixes prevent water damage and save money. Check hoses, seals, and pump first. Professional help may be needed for complex issues. Regular maintenance extends machine life and efficiency.
Can Overloading A Washer Cause It To Leak?
Overloading a washer stresses seals and hoses, causing leaks from excess water pressure or vibrations. Avoid overloading to prevent leaks.
How To Tell If A Washing Machine Has Loose Or Worn Out Drum Bearings?
Listen for loud rumbling or grinding noises during spin cycles. Check for drum wobbling or excessive play by manually rotating it. Leaking water near the drum area also signals worn bearings. Early detection prevents costly repairs and maintains washing machine performance.
Why Is My Washer Leaking Water From The Bottom?
A bottom leak often comes from a faulty drain pump, loose hose, or tub seal damage.
Conclusion
A washer leaking from the bottom can cause water damage and frustration. Start by unplugging the machine and turning off the water. Check all hoses and connections carefully for cracks or looseness. Inspect the drain pump and tub seal for signs of wear.
Keeping the washer level helps prevent leaks caused by vibrations. Regular maintenance can extend your washer’s life and avoid costly repairs. Act quickly to fix leaks and keep your laundry area dry and safe.