
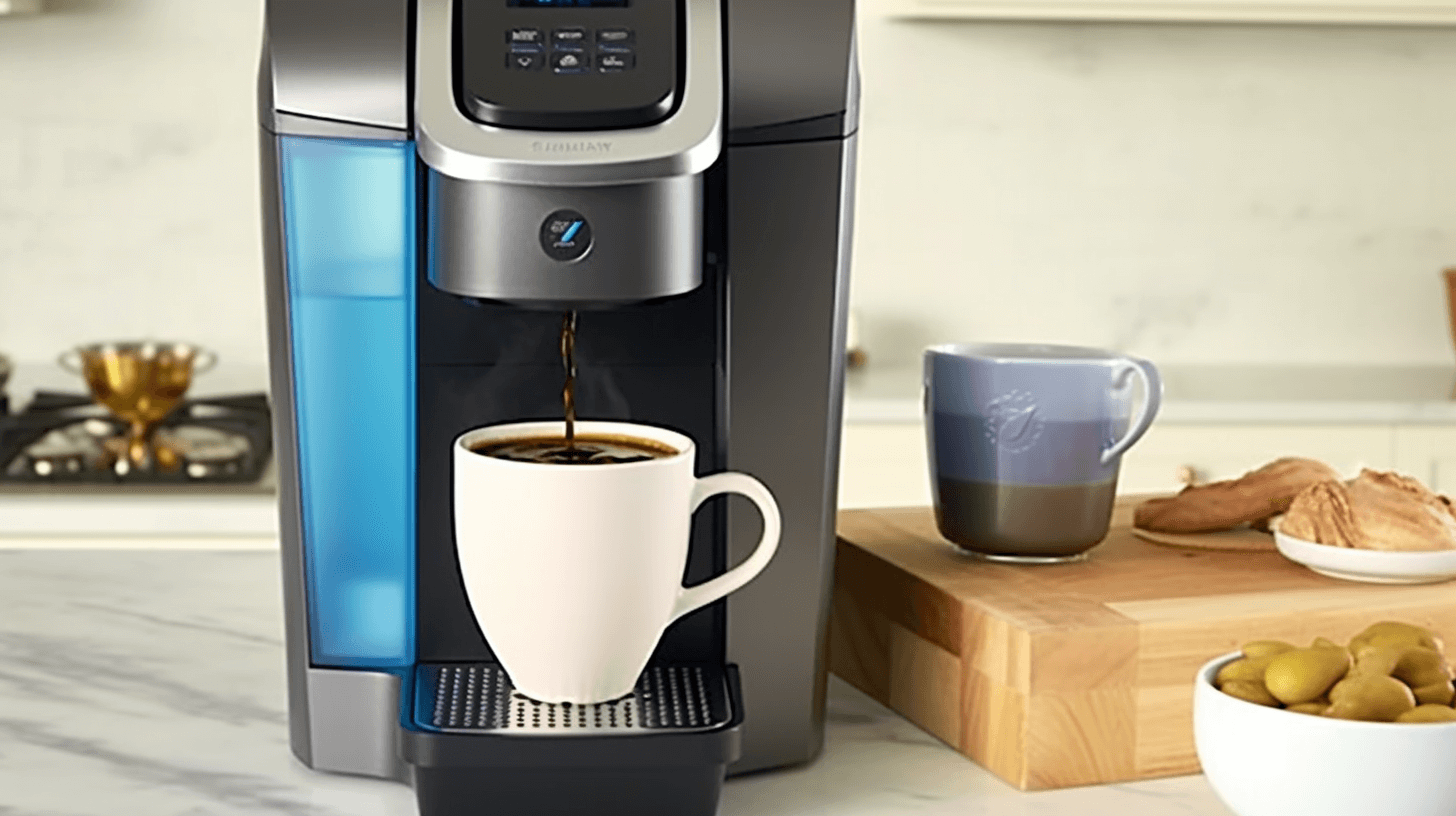
If your Keurig coffee maker is stuck on “descale” or refuses to work after descaling, you’re not alone. Many Keurig users face this confusing problem—even after following all the instructions. Suddenly, your morning routine grinds to a halt, and the machine keeps flashing that stubborn descale light.
Why does this happen, and more importantly, how can you fix it for good?
This guide will walk you through everything you need to know about a Keurig not working after descaling. You’ll learn why the descale light stays on, how to reset your machine, the right way to descale, and what to do if nothing works. We’ll cover solutions for all popular Keurig models and help you avoid common mistakes that make things worse. By the end, you’ll have a working Keurig—and know how to keep it running smoothly for years.
Why Keurig Needs Descaling
Every coffee maker builds up mineral deposits (called scale) over time. These minerals come from your water supply—especially if you use hard water. As water moves through your Keurig, it leaves behind small traces of calcium, magnesium, and other minerals. This buildup can:
- Block water flow inside the machine
- Make the heating element less effective
- Change the taste of your coffee
- Trigger the descale light or even stop the machine from brewing
Descaling is essential for removing these deposits and keeping your Keurig running efficiently. Most experts recommend descaling every 3-6 months, but some people need to do it more often if they use hard water. If you ignore descaling, your Keurig may eventually stop working or give you weak, lukewarm coffee.
What Does The Descale Light Mean?
The descale light on your Keurig is a warning. It tells you that mineral buildup has reached a level where the machine could be damaged or stop working well. Some Keurig models use a timer for this light, while others detect water flow and pressure changes.
Here’s what the descale light can mean:
- It’s time to run a descaling cycle
- The last descaling cycle wasn’t completed properly
- There’s still scale blocking the machine after descaling
- There’s a sensor or software error
The descale light won’t turn off until the machine thinks it’s clean. Sometimes, even after you descale, the light stays on—or the Keurig refuses to brew. That’s when things get frustrating.

Credit: www.reddit.com
Why Your Keurig Still Says Descale After Cleaning
Many users run a full descaling cycle but find the descale light won’t reset. Here are the top reasons this happens:
- Incomplete Descale Cycle: The machine needs you to follow every step, including multiple rinses.
- Not Using Descale Mode: Some models require you to activate a special mode to track the cycle.
- Skipped Steps: Forgetting to remove the pod holder, or not pressing the right buttons, can interrupt the process.
- Residual Scale: If there’s still heavy buildup inside, one cycle may not be enough.
- Clogged Needles or Tubes: The cleaning solution doesn’t always reach all blocked areas.
- Software Glitch: Rare, but sometimes the machine’s software gets confused.
Understanding these causes helps you fix the problem faster.
Step-by-step: How To Properly Descale Your Keurig
To prevent the descale light from getting stuck, you need to follow the correct process. Here’s a full guide that works for most Keurig models:
- Empty the Water Reservoir: Remove any remaining water.
- Turn Off and Unplug: Always unplug before cleaning inside.
- Remove Pod Holder and Tray: This helps the solution flow better.
- Add Descaling Solution: Use a bottle of Keurig’s official descaler or a mix of equal parts white vinegar and water.
- Fill Reservoir with Fresh Water: After adding the descaler, fill the rest with water.
- Enter Descale Mode: On some models, press and hold the 8oz and 12oz buttons together for 3 seconds (check your manual).
- Run Brew Cycles (No Pod): Start brewing cups of hot liquid, discarding each cup, until the reservoir is nearly empty.
- Wait 30 Minutes: Let the solution sit in the machine.
- Rinse Thoroughly: Refill with fresh water and run at least 2-3 more cycles to flush out any leftover solution.
- Reset the Descale Light: Some models reset automatically; others require you to press a specific button combination.
Important: Never put a K-Cup or reusable pod in while descaling. Always use a large mug to catch the liquid.
Example: Keurig K-slim Descale Sequence
- With the machine plugged in, power off.
- Press and hold the 8oz and 12oz buttons for 3 seconds to enter descale mode.
- Add solution and water.
- Press the brew button to start the cycle.
- Repeat until the reservoir is empty.
- Rinse and repeat with fresh water.
If you skip any of these steps, the descale light might stay on.
How To Reset The Descale Light
If the descale light won’t go off after cleaning, try these methods:
For Most Keurig Machines
- Unplug the machine for 5 minutes, then plug it back in.
- Press the power button and try a brew cycle (with no pod).
For Keurig K-slim, K-express, K-supreme, And Similar
- Power off the unit.
- Press and hold the 8oz and 12oz buttons together for 3-5 seconds.
- If the descale light blinks, you’re in descale mode—run a full cycle.
For K-duo And K-elite
- Hold the 8oz and 10oz buttons together for 3 seconds.
- Run several brew cycles with water only.
If the light still won’t reset, you may need to repeat the descale process with extra care.
Troubleshooting: Keurig Not Working After Descaling
If your Keurig won’t brew, won’t turn on, or acts strangely after descaling, here’s what to check:
1. Machine Won’t Brew
- Air bubbles: Sometimes, air gets trapped in the water lines. Remove the reservoir, shake gently, and reattach.
- Clogged needles: Descaling solution may loosen debris, which can clog the puncture needles. Use a paperclip to carefully clear them.
- Water sensor stuck: Clean the water reservoir and make sure it’s seated properly.
2. Still Says Descale
- Incomplete rinse: Run more water-only cycles. Sometimes, traces of descaler remain.
- Missed descale mode: Double-check you followed the button steps for your model.
3. Machine Won’t Power On
- Check the outlet: Plug another device in to confirm power.
- Reset power: Unplug for 5-10 minutes, then try again.
- Internal fuse: Rarely, a blown fuse inside the machine may need repair.
4. Bad Taste Or Smell
- Leftover vinegar/solution: Rinse with several full reservoirs of water. The taste will fade after 2-3 cycles.
5. Error Codes Or Flashing Lights
- Consult the manual: Some models give error codes if the descale process was interrupted.
- Try a factory reset: Some advanced Keurigs have a reset option in the settings menu.
Key Differences Between Keurig Models
Not all Keurigs handle descaling the same way. Here’s a quick comparison:
| Model | Descale Light? | Descale Mode? | Button Sequence |
|---|---|---|---|
| K-Classic | Yes | No | None |
| K-Slim | Yes | Yes | 8oz+12oz for 3 sec |
| K-Supreme | Yes | Yes | 8oz+12oz for 3 sec |
| K-Express | Yes | Yes | 8oz+12oz for 3 sec |
| K-Duo | Yes | Yes | 8oz+10oz for 3 sec |
| K-Elite | Yes | No | 8oz+10oz for 3 sec |
As you see, newer models often require special button presses to enter descale mode. Always check your manual for the exact steps.
Common Mistakes When Descaling A Keurig
Even experienced users make errors that leave the machine stuck or unable to brew. Avoid these common mistakes:
- Not Entering Descale Mode: Skipping this step means the machine doesn’t “know” you cleaned it.
- Using the Wrong Solution: Only use Keurig’s official descaler or pure white vinegar.
- Not Rinsing Enough: Even a small amount of descaler left inside can cause issues.
- Leaving the Pod Holder In: This blocks the flow of solution and can cause clogs.
- Ignoring the Needles: The entrance and exit needles often get blocked with coffee grounds.
- Not Waiting: Some machines need a rest period during descaling to break up heavy scale.
- Rushing the Process: Trying to speed through can leave the job unfinished.
Example: How Skipping Rinses Causes Problems
A user on a coffee forum described running only one rinse cycle after descaling. Their Keurig kept tasting of vinegar and the descale light stayed on. After running three more full reservoirs of water, the taste and light both disappeared.
Credit: angelinos.com
What To Do If Descale Still Won’t Reset
If you’ve followed all the steps and your Keurig still won’t work or keeps saying “descale,” try these advanced fixes:
1. Repeat The Descale With Vinegar
Sometimes, a second round with pure white vinegar (not diluted) can break up stubborn scale. Run at least two full cycles, then rinse with water.
2. Clean The Needles
- Unplug the machine.
- Remove the pod holder.
- Use a paperclip to gently poke through the top and bottom needles.
- Rinse under running water.
3. Clean The Reservoir Sensors
Some Keurigs use magnets to sense water level. Remove the reservoir, wash thoroughly, and make sure the magnet moves freely. Dry and reattach.
4. Factory Reset (if Available)
Some advanced Keurigs (like K-Supreme Plus SMART) allow a full reset via the menu:
- Power off
- Hold down the settings or power button for 10-15 seconds
- Follow prompts on the display (if any)
5. Contact Keurig Support
If your machine is under warranty, call Keurig support. Sometimes, persistent descale errors mean there’s a hardware issue. Keurig may offer repair or replacement.
How To Prevent Keurig Descale Problems In The Future
The best way to avoid descale headaches is with simple habits:
- Use Filtered Water: This reduces mineral buildup by up to 80%.
- Descale Regularly: Set a reminder to descale every 3-6 months.
- Clean Needles Monthly: Prevent clogs before they start.
- Empty Reservoir Overnight: This stops stagnant water from depositing more minerals.
- Don’t Ignore the Descale Light: Waiting too long makes the problem harder to fix.
Hidden Insight: Water Hardness Varies
Even within the same city, water hardness can change by neighborhood. If you notice a white film in your kettle or on glassware, your water is probably hard. Consider using bottled or filtered water in your Keurig.
Comparing Descaling Solutions: Vinegar Vs. Keurig Solution
Many people wonder which is better—white vinegar or the official Keurig descaling solution. Here’s a direct comparison:
| Descaling Agent | Effectiveness | Cost | Odor/Taste After | Availability |
|---|---|---|---|---|
| Keurig Solution | Very Effective | Higher | Almost None | Stores/Online |
| White Vinegar | Effective | Low | Can linger | Everywhere |
Both work, but vinegar often leaves a smell or taste if not rinsed well. The Keurig solution is more expensive but leaves less residue. For hard water users, the Keurig solution may be worth the extra cost.
How Long Does Descaling Take?
A full descale process typically takes 30 to 45 minutes. Here’s how the time breaks down:
- Setup and prep: 5-10 minutes
- Running descaler: 10-15 minutes
- Wait time: 30 minutes (for best results)
- Rinsing: 10-15 minutes
If you rush, you risk leaving descaler inside or missing hidden buildup. Plan for about an hour for the complete process.
When To Replace Your Keurig
Sometimes, a Keurig just won’t work—no matter how many times you descale or reset it. Here are signs it might be time for a new machine:
- The descale or brew problem returns every few weeks
- Water leaks from the base
- The machine makes loud, strange noises
- Buttons or screens fail to respond
- Internal parts are corroded or broken
Most Keurigs last 3-5 years with regular cleaning. If your machine is older, a replacement might cost less than repair.
Two Lesser-known Causes Of Descale Problems
- Magnet Misalignment: The water tank uses a small magnet to tell the machine there’s water present. If this magnet sticks or gets misaligned (after cleaning), the machine may not start, or descale mode may fail.
- Power Surges: Sudden loss or change in power can confuse the Keurig’s software. If your descale light comes on randomly after a power outage, unplug the machine for 10+ minutes to reset.

Credit: gottlob-berlin.de
Real-world Example: Solving A Stuck Descale Light
Linda, a Keurig K-Express owner, followed the normal descale steps but her machine refused to reset. She discovered she had skipped the required button combination for her model, running the descaler in normal brew mode. After reading the manual, she held the 8oz and 12oz buttons for 3 seconds, ran the cycle again, and the descale light finally turned off.
When To Call A Professional
If you’ve tried all the solutions above with no luck, it may be time for a professional repair. Some local appliance shops can clean the inside lines or replace damaged parts. If your machine is under a year old, contact Keurig support for warranty help. For machines out of warranty, compare the cost of repair with a new model.
For more detailed information about descaling appliances, you can also refer to Consumer Reports.
Frequently Asked Questions
Why Does My Keurig Say Descale Even After I Cleaned It?
This usually means the descale process wasn’t completed in the special descale mode, or traces of buildup remain inside. Double-check your model’s instructions and try repeating the process, making sure to run enough rinse cycles.
Can I Use Lemon Juice Or Baking Soda Instead Of Vinegar To Descale My Keurig?
No. While lemon juice is acidic, it doesn’t dissolve scale as well as vinegar or commercial solutions. Baking soda is not effective and can even leave residue. Stick with white vinegar or the official Keurig descaler.
How Often Should I Descale My Keurig If I Have Hard Water?
If you notice white spots on your dishes or use well water, descale every 2-3 months. Using a water filter or bottled water can help extend the time between cleanings.
Is It Safe To Run My Keurig If The Descale Light Is On?
You can use it a few times, but regular use with the descale light on can damage the machine over time. Scale buildup can block water flow, overheat the unit, and affect your coffee’s taste.
What’s The Difference Between Cleaning And Descaling A Keurig?
Cleaning removes coffee oils and grounds from the exterior and pod holder. Descaling removes mineral buildup inside the water lines and heating element. Both are necessary for good performance.
Conclusion
Getting your Keurig working after a descale problem can be tricky, but with the right steps, almost every issue is fixable at home. Remember to follow your model’s instructions exactly, clean regularly, and don’t be afraid to repeat the process if needed.
With a little effort, you’ll keep your Keurig brewing perfect coffee, every time.