
When your iTouchless garbage can lid suddenly stops working, it can quickly turn a smooth kitchen routine into a daily hassle. These touchless trash cans are meant to make life easier—no more touching dirty lids or struggling with full hands. But when the automatic lid fails, you’re left wondering whether it’s a simple fix or time for a replacement. Understanding the reasons behind this issue and how to troubleshoot can save you time, money, and frustration.
This guide walks you through every step to get your iTouchless garbage can lid working again. Whether you’re facing a lid that won’t open, one that won’t close, or a sensor that seems to have a mind of its own, you’ll find real solutions here.
You’ll also learn how these devices work, what usually goes wrong, and how to avoid common mistakes. If you’re ready to get your touchless bin back in action, keep reading.
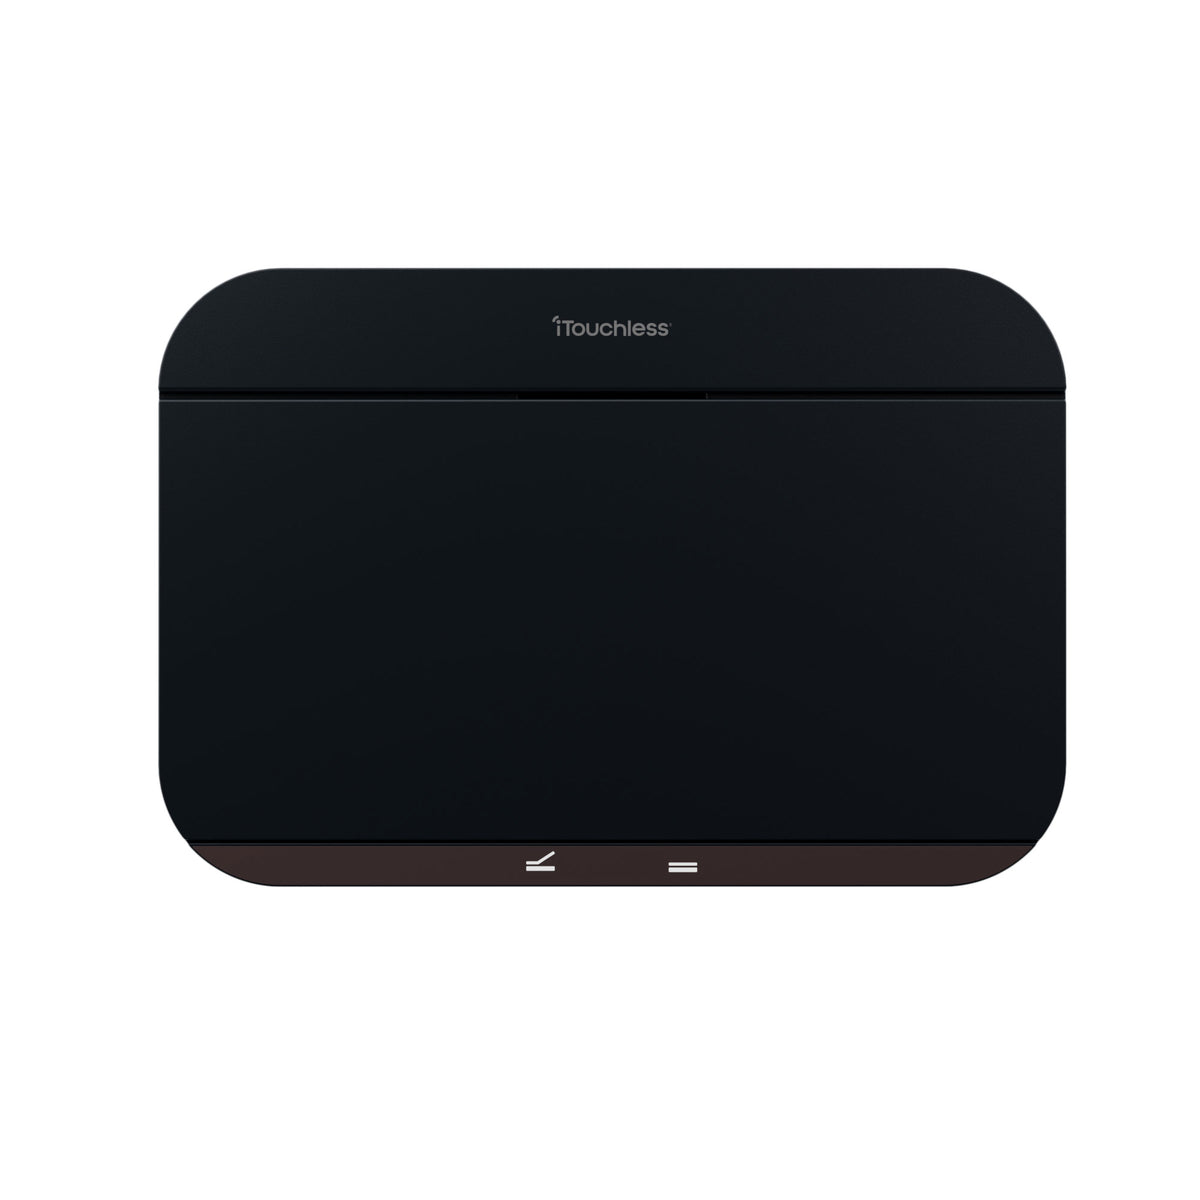
How Itouchless Garbage Cans Work
Before you start fixing, it helps to understand how touchless garbage cans function. Most iTouchless models use a combination of sensors, motors, and power sources. Here’s a breakdown of the main components:
- Infrared sensor: Detects movement above or near the lid, triggering it to open.
- Control board: Acts as the “brain,” processing signals from the sensor.
- Motor: Lifts and lowers the lid.
- Power source: Usually batteries or, in some models, an AC adapter.
- Manual override: A button or switch to open the lid without the sensor.
When you wave your hand over the sensor, it sends a signal to the control board. The board tells the motor to open the lid. After a few seconds, the board signals the motor to close it again. If any part fails, the whole process breaks down.
Non-obvious insight: Sometimes the problem is not with the sensor or motor, but with the power delivery or even the lid alignment. Many users overlook simple mechanical issues and jump straight to electronic troubleshooting.
For example, if the lid seems slow or sticky, it may not be due to the motor. Instead, it could be a misaligned hinge or even a loose lid that isn’t sitting properly on the base. Checking the physical parts first can save you time before digging into electronic troubleshooting.
Another point: iTouchless cans are designed to minimize accidental openings. The sensor is calibrated for hand or object movement within a specific range. If the can is placed in a tight space, or next to other moving objects like pets or curtains, the sensor may get confused and fail to respond as expected.
Common Reasons The Lid Stops Working
A touchless lid that’s not responding doesn’t always mean it’s broken for good. Here are the most frequent causes:
- Dead or weak batteries
- Sensor obstruction
- Dirty sensor window
- Loose or damaged wiring
- Motor failure
- Control board malfunction
- Mechanical blockage
- Faulty power adapter or connection
- Environmental interference
- Firmware or software error (rare)
Let’s explore each issue more closely.
1. Dead Or Weak Batteries
Most iTouchless cans run on batteries. When the power drops below a certain level, the lid may open slowly, not at all, or behave unpredictably.
Tip: Always check battery orientation and try a new set of high-quality batteries before assuming there’s a bigger problem. Remember, battery contacts can get corroded over time, especially if batteries leak. Inspect the terminals—if you see white or green buildup, clean them carefully.
2. Sensor Obstruction
If something blocks the sensor—like a bag, utensil, or even dust—the lid won’t open. Make sure nothing is in the way. Sometimes, an overfilled trash bag can push against the sensor area, making the lid think something is always present.
Adjust the bag or remove extra trash if the lid fails to respond.
3. Dirty Sensor Window
A dirty or greasy sensor window reduces sensitivity. Even a thin film from kitchen cooking can block the sensor’s “view. ”
Tip: Clean the sensor gently with a soft, dry cloth. Avoid water or harsh chemicals. If stubborn dirt remains, use a slightly damp microfiber cloth, then dry fully. Regular cleaning is especially important in busy kitchens where cooking oils and dust can build up quickly.
4. Loose Or Damaged Wiring
Rough handling, dropped cans, or battery changes can loosen wires inside the lid. A loose wire can break the circuit. If you’ve recently moved the can or changed batteries, double-check all connections. Sometimes, a wire may be pinched when reassembling the lid, leading to intermittent issues.
5. Motor Failure
If you hear a clicking or grinding noise but the lid doesn’t move, the motor could be stuck or failing. Over time, motors can wear out. Signs of motor wear include slow lid movement, inconsistent opening, or the lid stopping midway.
A failing motor may need replacement if the can is older or has seen heavy use.
6. Control Board Malfunction
The control board processes signals. Power surges, moisture, or age can cause it to fail, which usually means the lid becomes unresponsive. Some units may show blinking lights or error codes, signaling a board issue. If moisture is suspected, allow the unit to dry thoroughly before testing again.
7. Mechanical Blockage
Something as simple as a piece of garbage, a misaligned lid, or a warped hinge can stop the lid from opening or closing. Always check for physical obstructions first—sometimes a stray piece of plastic or a twisted bag is all it takes to jam the mechanism.
8. Faulty Power Adapter Or Connection
For models with an AC adapter, a loose plug or bad outlet can stop the lid from working. Try a different outlet or adapter if possible. Inspect the adapter cable for fraying or damage, as this can cause power interruptions.
9. Environmental Interference
Strong sunlight, reflective surfaces, or even nearby electronics can confuse the infrared sensor. If you notice the lid behaving oddly during certain times of day, check if sunlight is hitting the sensor directly. Moving the can a few inches can make a big difference.
10. Firmware Or Software Error
Some advanced models have simple firmware that controls operations. Rare glitches can freeze the lid. A reset often fixes this. If your can has a digital display or indicator lights, watch for unusual patterns that could signal a software glitch.
Step-by-step Troubleshooting Guide
Getting to the root of the problem is key. Here’s a practical workflow to pinpoint and fix the issue.
Step 1: Check The Power Source
- Remove and replace all batteries with fresh, high-quality ones.
- For AC-powered models, check the adapter and outlet.
- Confirm batteries are inserted in the correct direction.
Common mistake: Replacing only one battery or mixing old and new batteries can cause inconsistent power. Also, avoid using cheap batteries, as they often drain quickly and cause unreliable performance.
Step 2: Inspect The Sensor
- Remove any visible obstructions.
- Clean the sensor window gently.
- Test the can in different light conditions (move it if needed).
If the sensor doesn’t respond after cleaning and relocating, it may be faulty. Try waving different objects over the sensor to see if it detects any movement.
Step 3: Test Manual Operation
- Use the manual open/close button if your model has one.
- If the lid moves manually, the motor is likely fine.
If the manual button doesn’t work but the lid moves freely by hand, the issue may be electronic rather than mechanical.
Step 4: Listen For Sounds
- No sound at all usually means a power problem.
- Clicking or buzzing with no movement suggests a jammed motor or stuck gear.
If you hear the motor trying to work but the lid doesn’t move, stop and check for jams. Forcing the lid can damage internal gears.
Step 5: Examine The Lid Mechanism
- Remove the lid and check for trash, debris, or a bag caught in the hinge.
- Re-seat the lid carefully, making sure it aligns with the base.
Sometimes, the lid may not sit flat after emptying the trash. Take a moment to realign it, making sure the hinges are clear.
Step 6: Inspect Internal Wiring
- If comfortable, open the battery compartment and gently check for loose wires or connections.
- Caution: Only do this if you’re comfortable with simple electronics.
Look for obvious signs like disconnected wires, bent pins, or burned areas. If you’re unsure, it’s best to avoid deeper disassembly.
Step 7: Try A Reset
- Some cans have a reset button. Hold it for 3–5 seconds.
- If not, remove the batteries (or unplug) for 10 minutes, then reconnect.
This step clears minor software glitches and restores normal operation. If the lid starts working after a reset, the issue was likely software-related.
Step 8: Contact Support
If none of these steps work, reach out to iTouchless customer service. Have your model number, purchase date, and a description of the problem ready.
Non-obvious insight: Document the troubleshooting steps you’ve tried. This saves time if you need to contact support or make a warranty claim. Take photos if possible, as these can help tech support diagnose your issue faster.
Table: Quick Troubleshooting Reference
Here’s a handy comparison of symptoms and likely causes:
| Symptom | Likely Cause | Quick Fix |
|---|---|---|
| Lid won’t open at all | Dead batteries or power loss | Replace batteries or check adapter |
| Lid opens slowly | Weak batteries, motor issue | Use fresh batteries, inspect motor |
| Lid stuck halfway | Mechanical blockage, misalignment | Clear debris, realign lid |
| No sound, no movement | Power, control board issue | Check power, reset device |
| Random lid movement | Sensor interference | Clean sensor, reduce reflections |
Preventing Future Problems
A little care goes a long way in keeping your iTouchless garbage can working smoothly. Here’s how to avoid common issues:
- Change batteries regularly: Don’t wait for them to die.
- Keep the sensor clean: Wipe it weekly, especially in kitchens.
- Avoid overfilling: Overstuffed bags can block the lid.
- Don’t force the lid: If stuck, check for jams instead of pushing.
- Position wisely: Avoid placing the can in direct sunlight or near strong light sources.
- Handle gently: Rough handling can damage internal wiring.
Pro tip: Keep a small supply of the correct batteries on hand. Many problems are simply due to power loss, and having extras saves frustration.
If your kitchen is busy or you have kids and pets, place the can where it won’t get bumped or knocked over. Frequent bumps can loosen internal parts and increase the risk of wiring damage.
For sensor maintenance, use a soft cloth and avoid sprays that could seep into the electronics. If you notice the lid opening without any trigger, check for nearby moving objects or light sources that could be causing interference.
When To Repair Vs. Replace
Not every issue requires a new trash can. But sometimes, replacement is smarter than repair. Consider these factors:
- Age of the unit: Older cans may have more wear and tear.
- Cost of parts: If the motor or board costs nearly as much as a new unit, replacing makes sense.
- Warranty status: If under warranty, repairs or replacements may be free.
- Time and effort: If repairs take hours or require special tools, replacement may be easier.
If your can is more than five years old, even a successful repair may only last another year or two. Think about the total cost and time involved. Sometimes, upgrading to a newer model with improved features and reliability is the best choice.
Table: Repair Or Replace Decision Guide
| Problem | Repair Recommended | Replace Recommended |
|---|---|---|
| Dead batteries | ✔ | |
| Sensor dirty | ✔ | |
| Motor failed | ✔ (if parts available) | ✔ (if out of warranty) |
| Control board issue | ✔ (if under warranty) | ✔ (if repair expensive) |
| Physical damage | ✔ |

Credit: cityofharrah.com
Understanding Your Warranty
Most iTouchless cans come with a limited warranty, usually one year. The warranty typically covers:
- Manufacturing defects
- Motor and sensor failures (not caused by misuse)
- Some electrical problems
What’s not covered: Physical damage, water damage, and problems caused by using non-approved adapters or batteries.
How to claim: Save your proof of purchase. Contact customer service with your model and serial number. Describe the problem and steps you’ve taken.
Non-obvious insight: Even if your warranty expired, some companies offer discounted repairs or parts if you ask politely.
It’s smart to register your product after purchase. This makes warranty claims easier and sometimes extends your coverage. If your model is discontinued, ask customer service about compatible parts or upgrades—they may have special offers.
Real-world Examples
It helps to see how these problems play out in daily life.
Case 1: Sarah’s lid stopped opening after 8 months. She found corroded battery contacts—likely from a leaking battery. Cleaning them with a cotton swab and vinegar restored function.
Case 2: After a kitchen remodel, John’s can started opening and closing by itself. He discovered that sunlight from a new window was confusing the sensor. Moving the can solved the problem.
Case 3: Maria’s lid made a clicking sound but didn’t move. She realized a trash bag was jammed in the hinge. Removing the bag and realigning the lid fixed it instantly.
These examples show that not all problems are technical. Sometimes, simple fixes work best.
Another common story: A family noticed their lid stopped working after a holiday party. Too many hands had pushed the lid manually, causing it to misalign. Once they carefully repositioned the lid and checked the hinges, normal operation resumed.
If your can is used by many people, explain the basics of operation to guests or family members. Preventing rough handling and improper opening can reduce future issues.
When Professional Repair Makes Sense
If the lid still won’t work after basic troubleshooting, a professional repair may be worth considering. This is especially true for high-end models or if you’re uncomfortable working with electronics.
- Authorized service centers can diagnose and fix deeper electrical issues.
- Parts availability: Motors, sensors, and control boards can sometimes be ordered from the manufacturer.
- Cost: Request a repair estimate before agreeing. For older cans, compare repair costs to the price of a new unit.
Tip: Always ask about repair guarantees. Some services offer a short-term warranty on repairs.
If you live in a larger city, local appliance repair shops may handle touchless trash cans. Always check reviews and ask for a quote before leaving your device. For rare models, you may need to ship the lid to the manufacturer.
Alternatives And Upgrades
If you decide to replace your iTouchless can, consider these features in your next model:
- Rechargeable batteries: Save on battery costs over time.
- Stronger sensors: Newer models have improved detection.
- Odor control systems: Some lids have built-in filters.
- Voice control: Premium models offer hands-free operation by voice.
- Smudge-resistant finishes: Easier to keep clean.
Comparison Table: Modern Features in Touchless Trash Cans
| Feature | Benefit | Models Offering It |
|---|---|---|
| Rechargeable battery pack | Lower long-term cost | iTouchless, Simplehuman |
| Voice activation | Ultimate hands-free use | Simplehuman |
| Odor control filter | Reduces kitchen smells | iTouchless, Nine Stars |
| Smudge-resistant coating | Stays cleaner, looks better | iTouchless, EKO |
If you have pets or young children, look for models with lockable lids. This prevents accidental opening and keeps your kitchen cleaner.

Credit: www.amazon.com
Environmental Impact Of Electric Trash Cans
It’s worth considering the environmental aspect. Touchless cans use batteries or electricity, which have a small carbon footprint. To reduce impact:
- Use rechargeable batteries whenever possible.
- Recycle old batteries properly.
- Choose durable models to avoid frequent replacements.
- Clean and maintain your can to extend its life.
Small changes can make a big difference over years of use.
Another tip: If your old can is still usable, consider donating it or repurposing it for storage in a garage or laundry room. Proper disposal and recycling help minimize waste.
Where To Find Replacement Parts
If you’re handy, you may want to replace a faulty sensor, motor, or lid yourself. iTouchless offers some parts through their official site. You can also check:
- Major online retailers (Amazon, eBay)
- Local appliance repair shops
- ITouchless customer service
Warning: Make sure you order the exact part for your model. Using the wrong part can cause further damage.
For more technical information, you can visit the Wikipedia page on touchless trash cans.
If you’re unsure about compatibility, contact iTouchless support before purchasing. Some retailers offer return policies if the part doesn’t fit, but checking in advance prevents hassle.
Credit: www.itouchless.com
Frequently Asked Questions
Why Does My Itouchless Garbage Can Lid Open And Close By Itself?
This is usually caused by sensor interference. Strong sunlight, reflective surfaces, or objects moving too close can trigger the lid. Try moving the can to a different location and clean the sensor window.
How Long Do The Batteries Last In An Itouchless Garbage Can?
Battery life varies, but with normal use, alkaline batteries usually last 6–12 months. If the lid opens and closes very often, the batteries may drain faster.
Can I Use Rechargeable Batteries In My Itouchless Trash Can?
Yes, most models accept NiMH rechargeable batteries. Make sure the batteries are fully charged, as weak rechargeables can cause erratic lid behavior.
The Lid Makes Noise But Doesn’t Move. What Should I Do?
A clicking or buzzing sound with no lid movement often means a mechanical jam or worn-out motor. Check for obstructions or misalignment. If the motor is bad and the unit is still under warranty, contact customer service.
Is It Safe To Repair My Itouchless Garbage Can Myself?
Basic tasks like changing batteries or cleaning the sensor are safe for most users. For internal repairs (like wiring or motor replacement), only attempt it if you’re comfortable with small electronics. Otherwise, seek professional help or contact the manufacturer.
Conclusion
A touchless garbage can adds real convenience to your kitchen, but only when it works as it should. With the right steps, most lid problems are easy to diagnose and fix. Regular maintenance, smart troubleshooting, and knowing when to seek help will keep your iTouchless can running smoothly for years.