
Is your GE ice maker leaking water into the ice bin? This annoying drip can turn your perfectly chilled ice into a soggy mess, disrupting your daily routine and wasting water.
You’re not alone—many GE ice maker owners face this issue, and it usually signals a simple problem you can fix yourself. Whether it’s a misaligned fill tube, a clogged drain, or a faulty water inlet valve, knowing what to check can save you time and money.
Keep reading to discover easy, step-by-step solutions that will stop the leaks and get your ice maker working smoothly again.
Common Causes Of Leaks
Water leaking into the ice bin of a GE ice maker can be frustrating. Several common issues cause this problem. Identifying the exact cause helps fix leaks quickly. Understanding these causes also prevents future leaks and keeps the ice maker working well.
Faulty Water Inlet Valve
The water inlet valve controls water flow into the ice maker. If it fails to close fully, water keeps flowing. This overfills the ice maker and causes leaks. Dirt buildup or wear can make the valve faulty. Cleaning or replacing the valve often stops the leak.
Misaligned Or Cracked Fill Tube
The fill tube delivers water to the ice maker. If it is cracked or out of place, water drips into the bin. A cracked tube leaks water constantly. A misaligned tube spills water outside the ice mold. Adjusting or replacing the fill tube solves this issue.
Ice Jams In Dispenser Chute
Ice can clog the dispenser chute, causing melting and water drips. These jams block ice from falling properly. The trapped ice melts and leaks into the bin below. Clearing ice jams carefully prevents water from leaking.
Clogged Drain Tube
The drain tube carries excess water away from the ice maker. Blockages cause water to pool and leak into the bin. Dirt or ice buildup often clogs the drain tube. Cleaning the drain tube removes blockages and stops leaks.
Improper Installation
Incorrect installation affects water flow and drainage. An unlevel refrigerator or loose water line causes leaks. Water connections that are not tight can drip. Checking and fixing installation errors prevents water leaks.
Old Or Clogged Water Filter
A dirty or old water filter reduces water flow to the ice maker. This may cause overfilling or leaks. Replacing the water filter regularly ensures clean water flow. It also helps stop leaks caused by poor filtration.

Credit: www.applianceaid.com
Clearing Ice Jams
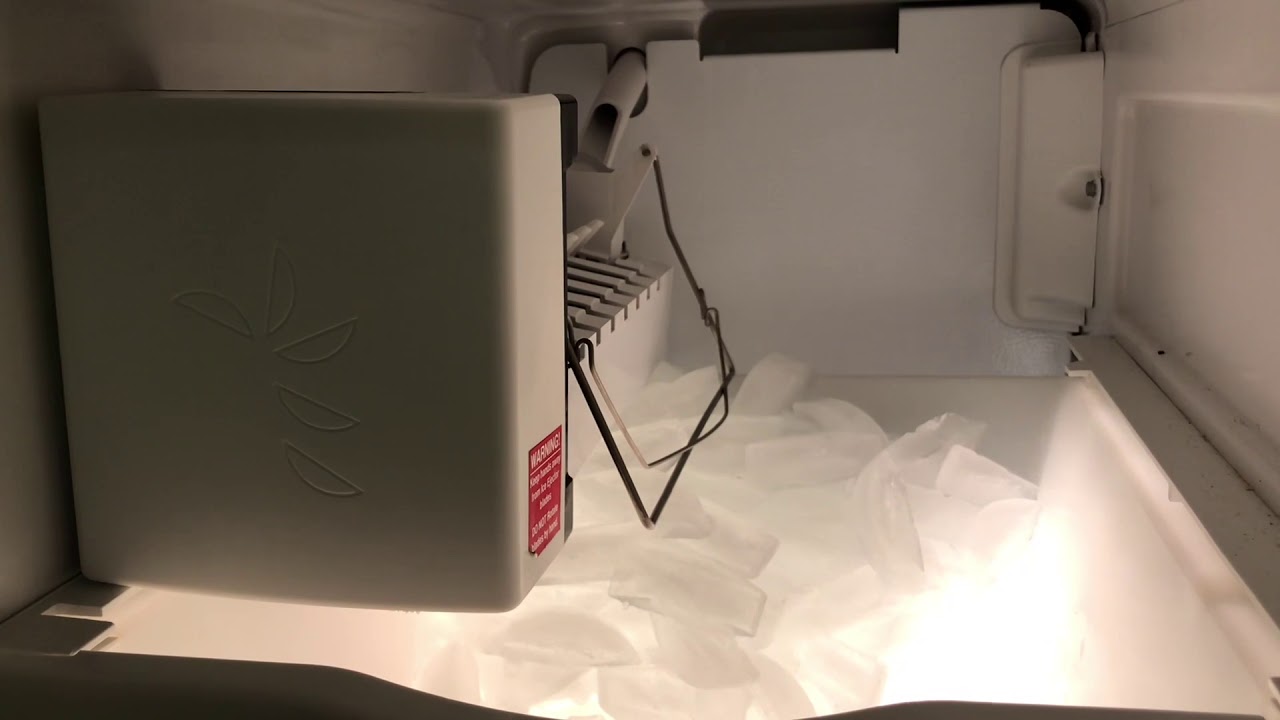
Clearing ice jams is a key step to stop your GE ice maker from leaking water into the bin. Ice jams block the normal flow of water and ice, causing excess water to drip. Removing these blockages helps your ice maker work smoothly and reduces leaks.
Identifying Ice Blockages
Look inside the ice maker’s chute and bin for chunks of stuck ice. These blockages often form near the dispenser or fill tube. Check for uneven ice buildup or clumps that do not move. Ice jams can cause water to back up and leak into the bin.
Using Tools To Remove Ice
Use a plastic or wooden tool with a smooth edge to gently remove ice blockages. Avoid metal tools to prevent damage. Carefully chip away the stuck ice without harming the dispenser parts. Clear all visible ice clumps to allow proper water flow.
Defrosting The Ice Bin
Turn off the ice maker and empty the ice bin. Leave the freezer door open to let ice melt naturally. Use a towel to catch dripping water. Defrosting removes hidden ice jams and prevents future leaks. After defrosting, dry the bin well before restarting the ice maker.
Fixing Fill Tube Issues
Fixing fill tube issues is a key step to stop water leaking into the ice bin. The fill tube delivers water to the ice maker. If it cracks or moves out of place, water can leak and cause problems. Checking the tube for damage and alignment helps avoid leaks. Sometimes replacing the tube is needed for a perfect fit. Follow these steps to fix the fill tube and keep your ice maker working well.
Checking For Cracks
Look closely at the fill tube for any cracks or holes. Even small cracks let water drip into the bin. Use a flashlight to see clearly inside the tube. If you find cracks, the tube will need replacing. A cracked fill tube cannot stop water leaks effectively.
Adjusting Tube Alignment
The fill tube must line up correctly with the ice maker. If it shifts, water spills outside the ice mold. Gently push or pull the tube to align it. Make sure it fits snugly in place. Proper alignment stops water from leaking and keeps ice cubes clean.
Replacing Damaged Tubes
If the fill tube is cracked or worn out, replace it with a new one. Turn off the water supply before removing the old tube. Take careful note of how the tube connects. Attach the new tube firmly to avoid leaks. After replacement, test the ice maker to confirm the leak is fixed.
Water Inlet Valve Troubleshooting
Troubleshooting the water inlet valve is key to fixing a leaking GE ice maker. This valve controls the water flow into the ice maker. When it malfunctions, water leaks into the ice bin. Understanding how to clean, test, and replace the valve helps solve this problem quickly.
Cleaning The Valve
Start by unplugging the refrigerator for safety. Locate the water inlet valve, usually at the back. Remove any dirt or debris around it. Use a soft brush to clean the valve openings gently. Clear any mineral buildup that might block water flow. Cleaning helps the valve close fully and stops leaks.
Testing Valve Operation
Restore power and listen for the valve activating during the ice maker cycle. Use a multimeter to check valve coils for continuity. No continuity means the valve is faulty. Also, check water pressure to ensure it meets the manufacturer’s recommendations. Proper valve operation prevents overfilling the ice bin.
Replacing Faulty Valves
Turn off the water supply and unplug the fridge. Disconnect the water line and electrical connectors from the valve. Remove mounting screws and take out the old valve. Install a new, compatible valve and reconnect all parts. Turn the water back on and test the ice maker for leaks. Replacing a bad valve stops water leaks effectively.
Clearing Drain Blockages
Clearing drain blockages is a key step to stop water leaking into the ice bin. Blocked drains trap water, causing spills and leaks. Regular cleaning keeps the drain flowing freely. This prevents water buildup and ice maker problems.
Follow simple steps to clear blockages and restore proper drainage. Check all parts carefully to find and remove debris. Proper drainage helps your ice maker work well and keeps your freezer dry.
Locating The Drain Tube
Start by finding the drain tube inside the ice maker. It usually runs from the ice bin to the drain area. The tube carries extra water away from the ice bin. Look behind or under the ice maker to spot it. Knowing where the tube is helps you clean it easily.
Removing Debris
Debris like ice pieces or dirt can block the drain tube. Use a soft brush or cloth to clear out the tube gently. Avoid sharp tools that might damage the tube. Flush the tube with warm water to remove stuck debris. Keep the tube clear to prevent leaks.
Ensuring Proper Drainage
Check that water flows smoothly through the drain tube. Make sure the tube is not bent or twisted. A straight tube helps water drain faster. Confirm the drain hole is free from ice and dirt. Proper drainage stops water from pooling in the ice bin.
Credit: www.youtube.com
Checking Installation And Leveling
Water leaking into the ice bin often links to installation and leveling issues. A refrigerator must be level to work properly. Incorrect leveling causes water to flow where it should not. Checking the installation helps spot loose connections or misaligned parts. Fixing these stops leaks and improves ice maker function.
Leveling The Refrigerator
Place a level tool on top of the refrigerator. Check if it sits flat side to side and front to back. Adjust the refrigerator feet by turning them clockwise or counterclockwise. Make small changes and recheck the level. A properly leveled fridge prevents water from pooling inside the ice bin.
Securing Water Line Connections
Inspect the water line that feeds the ice maker. Look for loose fittings or cracks that cause leaks. Tighten any loose connections gently with a wrench. Replace damaged tubing to stop drips. Secure water lines ensure steady water flow without spills inside the bin.
Verifying Ice Maker Position
Check the ice maker’s mounting and alignment. It should sit evenly without tilting forward or backward. A tilted ice maker lets water spill into the bin instead of freezing properly. Adjust its position using the mounting screws. Proper alignment helps water fill the ice tray correctly and stops leaks.
Replacing The Water Filter
Replacing the water filter in your GE ice maker can solve leaking problems. A clean filter ensures proper water flow and prevents overflow. Over time, filters get clogged and slow water movement. This can cause water to leak into the ice bin. Changing the filter is a simple fix anyone can do.
Signs Of A Clogged Filter
Slow ice production is a clear sign of a clogged filter. Water may drip or leak into the ice bin. You might notice a strange taste or odor in the ice. The ice maker may stop working altogether. These signs mean the filter needs replacement soon.
Choosing The Right Replacement
Use a filter designed for your GE ice maker model. Check the user manual for the exact part number. Avoid cheap or generic filters that might not fit well. Buying from a trusted brand ensures clean water and proper function. Keep a spare filter on hand for quick changes.
Step-by-step Filter Replacement
First, locate the water filter inside the refrigerator or freezer. Turn off the water supply to avoid spills. Twist or pull out the old filter carefully. Insert the new filter firmly until it clicks into place. Turn the water back on and run water through the dispenser to clear air. Reset the filter indicator light if your model has one.
Maintenance Tips To Prevent Leaks
Preventing leaks in your GE ice maker requires regular care and attention. Small maintenance tasks can stop water from leaking into the ice bin. These simple steps keep your ice maker working smoothly. Follow these tips to avoid common problems and extend the life of your appliance.
Regular Cleaning Routines
Keep your ice maker clean to avoid blockages and leaks. Remove ice buildup in the bin and dispenser chute. Wipe down the fill tube and surrounding areas. Clean the water inlet valve to prevent dirt buildup. A clean machine reduces the chance of water overflow. Set a schedule to clean your ice maker every few weeks.
Monitoring Water Pressure
Check the water pressure feeding your ice maker regularly. Low or high pressure can cause water leaks. Use a pressure gauge to measure the flow. Adjust the water supply if pressure is outside the recommended range. Proper water pressure ensures the valve works correctly. This prevents overfilling and water spilling into the bin.
Seasonal Inspections
Inspect your ice maker every season for wear and tear. Look for cracks or misalignment in the fill tube. Check the water inlet valve for signs of damage or dirt. Make sure the drain tube is clear and flowing freely. Tighten any loose connections around the ice maker. Seasonal checks catch problems before leaks start.
Credit: applianceexpresstx.com
Frequently Asked Questions
Why Is My Ice Maker Leaking Water Into The Ice Bin?
Your ice maker leaks water into the bin due to a faulty water inlet valve, misaligned or cracked fill tube, or ice jams. Clear jams, adjust or replace the fill tube, and inspect the valve to stop leaks. Clean clogged drains and ensure proper installation for best results.
What Is The Most Common Problem With Ge Refrigerators Ice Maker?
The most common problem with GE refrigerator ice makers is water leaking into the ice bin. Causes include faulty water inlet valves, misaligned or cracked fill tubes, and ice jams in the dispenser chute. Clearing jams, adjusting tubes, or replacing valves often fixes the issue.
How To Unclog Defrost Drain On Ge Refrigerator?
Clear the defrost drain by unplugging the GE refrigerator, locating the drain hole, and flushing it with warm water. Use a pipe cleaner if blocked.
Why Does My Ice Maker Overflow With Water?
Your ice maker overflows due to a faulty water inlet valve, misaligned or cracked fill tube, clogged drain, or ice jams. Check and clear jams, realign or replace tubes, clean or replace the valve, and ensure proper installation to stop overflow.
Why Is My Ge Ice Maker Leaking Water Into The Bin?
A faulty water inlet valve, misaligned fill tube, or ice jams often cause leaks into the bin.
Conclusion
A leaking GE ice maker causes water to pool in the ice bin. Check for ice jams blocking the chute and clear them carefully. Inspect the fill tube for cracks or if it sits out of place. Make sure the water inlet valve closes fully to stop overfilling.
Clean any clogged drain tubes to allow water to flow properly. Confirm the ice maker and refrigerator are level and all parts fit tightly. Changing an old water filter can improve water flow. Following these steps helps keep your ice maker dry and working well.