
Is your Dymo embossing label maker suddenly refusing to work? You’re not alone, and the frustration of a stuck tape, blank prints, or poor embossing quality can bring your labeling projects to a halt.
But before you give up or rush to buy a new device, there’s good news: many common problems have simple fixes you can do yourself. You’ll discover easy, step-by-step solutions to get your Dymo label maker feeding tape smoothly and printing clearly again.
Keep reading to save time, avoid costly repairs, and make your label maker work like new—right now.
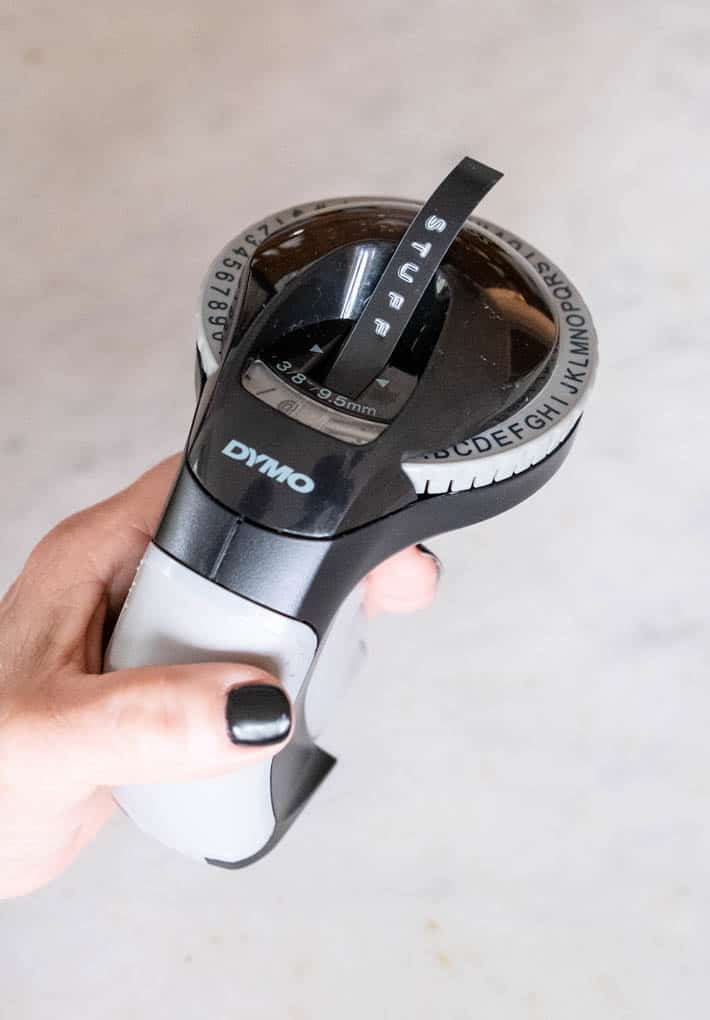
Credit: www.theartofdoingstuff.com
Common Issues
Many users face issues with their Dymo Embossing Label Maker. These problems often stop the device from working correctly. Understanding common issues helps in quick fixing. Here are some frequent problems users encounter.
Tape Jam Problems
Tape jams occur when the tape gets stuck inside the machine. This stops the tape from moving forward. Dirt or leftover tape bits can cause jams. Carefully removing the jammed tape can fix this issue. Always check the tape path for blockages.
Trigger Malfunction
The trigger controls embossing and tape feeding. If it does not work, the machine may not print. Dust or debris can block the trigger mechanism. Cleaning or gently pressing the trigger several times may help. In some cases, the trigger spring may need replacement.
Poor Print Quality
Labels may appear faint or uneven. This happens if the tape is old or the embossing wheel is dirty. Using fresh tape improves print clarity. Clean the embossing wheel with a soft cloth to remove dirt. Avoid pressing the trigger too lightly to ensure clear print.
Tape Not Feeding
Tape not feeding means the tape stays stuck at the start. The roller may not grip the tape well. Check if the tape is inserted correctly and fully. Clean the roller to remove dust or sticky residue. Replacing the tape cartridge often solves feeding issues.
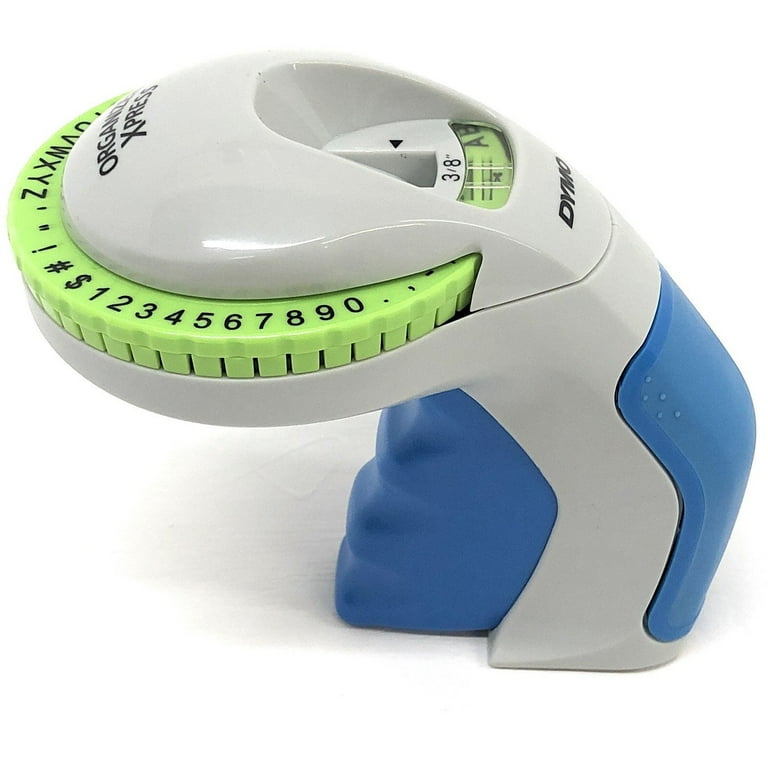
Credit: www.walmart.com
Basic Troubleshooting
Basic troubleshooting helps fix common problems with your Dymo embossing label maker. It involves simple checks and cleaning steps. These actions often restore your device without needing repairs or replacement parts. Follow the steps below to get your label maker working again quickly.
Check Tape Installation
Remove the tape cartridge carefully. Check if the tape is aligned correctly inside. Make sure the tape feeds smoothly without twists or jams. Reinstall the tape firmly to ensure proper contact with the rollers. Incorrect tape placement often stops the device from embossing.
Clean Rollers
Open the label maker to access the rollers. Use a soft, dry cloth to wipe away dust and debris. Avoid using water or liquids that may damage the device. Clean rollers grip the tape better and help it feed correctly. Dirty rollers cause the tape to slip or stop moving.
Inspect Trigger Mechanism
Press the trigger several times to check its movement. Look for any stuck or loose parts inside the trigger area. Clear away any small pieces of tape or dirt blocking the mechanism. A smooth trigger action is essential for embossing letters properly. Fixing trigger issues restores printing function.
Replace Batteries
Open the battery compartment and remove old batteries. Insert fresh batteries of the correct size and type. Weak batteries can cause the label maker to fail or print faint letters. Always keep spare batteries handy for uninterrupted use. Test the device after replacing batteries to confirm operation.
Advanced Fixes
Advanced fixes for the Dymo Embossing Label Maker involve deeper steps. These methods help when basic troubleshooting does not solve the problem. They target mechanical and tension issues inside the device. Handle the parts carefully to avoid damage. Follow each step slowly for best results.
Disassemble And Clean Internals
Turn off the label maker before opening it. Remove any tape or labels inside. Use a small screwdriver to open the case. Look for dust, dirt, or old tape scraps. Clean these with a soft brush or cloth. Avoid using water or liquids. Dirt can block the embossing mechanism and cause errors. After cleaning, reassemble the device carefully. Test the label maker to see if it works better.
Fix Roller Grip Issues
The roller moves the tape through the machine. Check if the roller spins freely. Look for worn-out or sticky surfaces on the roller. Clean the roller with a dry cloth. If it is damaged, consider replacing it. A weak roller grip stops the tape from feeding properly. Adjust the roller to ensure it presses the tape firmly. This fix improves tape movement and printing quality.
Adjust Tape Tension
Tape tension controls how tightly the tape moves inside. Too loose or tight tension causes feeding problems. Find the tension adjustment knob or screw. Turn it slightly to increase or decrease tension. Test the label maker after each change. Proper tension helps the tape feed smoothly. It prevents jams and blank prints. Keep adjusting until the tape moves evenly and prints well.
Preventive Tips
Preventing issues with your Dymo embossing label maker saves time and effort. Regular care keeps the device working smoothly. Simple habits help avoid common problems like tape jams or poor printing. Follow these preventive tips to extend your label maker’s life.
Use Correct Tape Types
Always use tapes designed for your Dymo embosser. Different models require specific tape widths and materials. Using wrong tapes can cause jams or poor embossing. Check the user manual to find the right tape type. This ensures smooth feeding and clear labels every time.
Store Properly
Keep your label maker in a dry, cool place. Avoid exposure to direct sunlight or heat sources. High temperatures can warp plastic parts and tape rolls. Store tapes separately to prevent dust and moisture buildup. Proper storage prevents damage and maintains tape quality.
Regular Maintenance
Clean your embossing label maker regularly. Remove dust and leftover tape pieces inside the device. Use a soft brush or cloth for cleaning. Check the rollers and embossing wheel for signs of wear. Lubricate moving parts lightly if needed, using recommended products. Routine maintenance improves performance and prevents malfunctions.

Credit: www.amazon.ae
Frequently Asked Questions
Why Is My Embosser Not Working?
Your embosser may not work due to a tape jam, trigger not activating, or improper tape feeding. Check for stuck tape and ensure the trigger functions correctly. Clean the device and use the correct tape type to resolve common issues quickly.
Why Isn’t My Dymo Label Printer Working?
Your DYMO label printer may not work due to unsupported label sizes, dirty sensors, or driver issues. Check tape jams and ensure proper loading. Clean the sensor and update drivers for better performance.
Why Is My Dymo Label Not Feeding Through?
Your DYMO label may not feed due to a stuck tape, roller issues, or improper tape loading. Clean the roller and reload tape correctly.
How To Fix Label Maker Dymo?
Check for tape jams and remove any stuck tape carefully. Clean the rollers and sensors to ensure smooth tape feeding. Reload the tape correctly and twist the bottom until it clicks into place. Update or reinstall DYMO drivers if printing issues persist.
Why Is My Dymo Embossing Label Maker Not Feeding Tape?
Tape feeding issues usually occur when the roller can’t grip the tape properly. Check for tape jams or dirt on the roller and clean or remove any blockages. Make sure the tape cartridge is installed correctly.
Conclusion
Troubles with your Dymo embossing label maker can feel frustrating. Simple fixes often solve feeding or printing problems. Check for stuck tape or dirty sensors first. Using the correct tape size helps prevent issues. Regular cleaning keeps your device working smoothly.
Small steps can bring your label maker back to life. Keep trying these easy tips before seeking professional help. Your labels will look great again soon.