
Is your Hisense dehumidifier showing the frustrating error code E9? This error often points to a problem with the humidity sensor, which can stop your unit from working properly and leave your space feeling damp and uncomfortable.
But don’t worry—you don’t have to call a technician right away. In this guide, you’ll discover simple, step-by-step fixes you can try yourself. From cleaning the sensor and checking connections to resetting your machine, you’ll learn how to tackle the E9 error quickly and get your dehumidifier back to keeping your home dry and cozy.
Keep reading to find out exactly what you need to do!
Identify Error Code E9
Identifying the Hisense dehumidifier error code E9 is the first step to fixing the problem. This error signals an issue with the humidity sensor. Understanding what the code means and its common causes helps you take quick action. A clear idea of the error simplifies the troubleshooting process.
What E9 Means
Error code E9 means the dehumidifier’s humidity sensor is not working right. This sensor measures the moisture level in the air. If it fails, the unit cannot control humidity properly. The code usually appears if the sensor is broken or not connected well. This stops the dehumidifier from running normally.
Common Causes
The main cause of the E9 error is a faulty humidity sensor. Dust or dirt on the sensor can cause wrong readings. Loose or damaged wiring can also trigger the error. Sometimes, the water tank or float switch is not placed correctly. This may confuse the sensor and cause the error code. Checking these parts often solves the issue fast.
Initial Troubleshooting
Encountering the Hisense dehumidifier error code E9 can be frustrating. This error typically signals a problem with the humidity sensor or its connection. Initial troubleshooting helps identify simple issues before deeper repairs. Follow these easy steps to start fixing the error quickly and safely.
Power Cycle The Unit
Turn off the dehumidifier and unplug it from the power source. Wait for at least five minutes. This pause allows the system to reset fully. Plug the unit back in and turn it on. Check if the E9 error disappears. Power cycling often clears minor glitches and restores normal function.
Check Water Tank Placement
Remove the water collection tank carefully. Inspect the tank for proper placement inside the unit. The float switch must move freely without obstruction. A stuck or misaligned float switch can trigger error codes. Re-seat the tank firmly and ensure it sits correctly. Turn the unit on to test the result.
Reset The Dehumidifier
Locate the reset button or consult the user manual for reset instructions. Press and hold the reset button for a few seconds. This action clears stored errors and refreshes settings. If no reset button exists, unplug the unit again for five minutes. Restart the dehumidifier after this break. This reset can fix sensor communication faults causing the E9 error.
Clean Sensor And Filters
Cleaning the sensor and filters plays a key role in fixing the Hisense dehumidifier error code E9. Dust and debris can block the humidity sensor and air filters. This causes the machine to misread humidity levels or restrict airflow. Regular cleaning helps the unit work properly and stops errors. Follow these simple steps to clean your sensor and filters.
Locate And Clean Humidity Sensor
First, unplug the dehumidifier from the power source. Locate the humidity sensor, usually near the air intake. Use a soft, dry cloth to gently wipe dust or dirt off the sensor. Avoid using water or harsh cleaners. Cleaning the sensor improves its ability to detect moisture accurately.
Clean Or Replace Air Filter
Remove the air filter from the unit carefully. Check the filter for dirt or dust buildup. Rinse the filter under running water if it is washable. Let it dry completely before placing it back. If the filter is not washable or heavily damaged, replace it with a new one. Clean filters ensure good airflow and reduce strain on the machine.
Clear Airflow Obstructions
Inspect the air intake and exhaust vents for blockages. Remove any objects or dust that might block airflow. Keep the area around the dehumidifier clear for better ventilation. Good airflow prevents overheating and helps the unit run smoothly.
Inspect Wiring And Connections
Inspecting the wiring and connections is an important step to fix the Hisense dehumidifier error code E9. This error usually points to problems with the humidity sensor or its wiring. Faulty or loose wires can stop the sensor from working correctly. Careful inspection helps find these issues fast. Follow the steps below to check the wiring and connections properly.
Check Sensor Wiring
Start by locating the humidity sensor wiring inside the unit. The sensor wires connect to the main control board. Make sure the wires are firmly attached and not loose. Gently tug each wire to test its hold. Loose wiring can cause incorrect sensor readings and trigger error codes. Replace any wires that look worn out or frayed.
Secure Loose Connections
Loose connections disrupt the electric flow needed for the sensor to work. Tighten any connectors or terminals that feel loose. Use a small screwdriver if needed to secure screws holding the wires. Check both ends of each wire to ensure a solid connection. Good contact prevents the E9 error from recurring.
Look For Damage Or Corrosion
Carefully examine all wiring for visible damage or corrosion. Corrosion often looks like white or green powder on wire ends or connectors. It blocks electric signals and causes sensor faults. Clean corroded parts with a soft brush and contact cleaner. Replace wires or connectors that are badly damaged or corroded to restore proper function.
Advanced Checks
Advanced checks help find deeper causes of the E9 error on your Hisense dehumidifier. These checks require tools and careful handling. They focus on critical parts like sensors, control board, and float switch. Performing these steps can save time and avoid costly repairs.
Test Sensor With Multimeter
Use a multimeter to test the humidity sensor’s resistance. First, unplug the unit for safety. Locate the sensor near the air intake. Disconnect the sensor’s wires carefully. Set the multimeter to the resistance (ohms) mode. Place the probes on sensor terminals. A healthy sensor shows a stable resistance value. If readings vary widely or show open circuit, replace the sensor. Reconnect wires after testing.
Examine Control Board
Inspect the control board for signs of damage or burns. Unplug the dehumidifier and open the control panel. Look for loose wires, burnt components, or corrosion. Use a magnifier for close inspection. Tighten any loose connections carefully. If the board has visible damage, it may need replacement. Avoid touching the board when plugged in to prevent shocks.
Check Float Switch Function
The float switch stops the unit when the water tank is full. Remove the water bucket and find the float switch inside. Gently move the float up and down. Listen for a clicking sound or test continuity with a multimeter. If the switch does not respond or shows no continuity, it is faulty. Clean any debris around the float that may block movement. Replace the float switch if needed.
Credit: www.dehumidifierbuyersguide.com
Replace Faulty Components
Replacing faulty components is a key step to fix the Hisense dehumidifier error code E9. This error usually points to a problem with the humidity sensor. A damaged or disconnected sensor can cause the unit to stop working properly. Replacing the faulty sensor can restore normal function.
Follow clear steps to order, install, and verify the new sensor. This process ensures the dehumidifier works without errors.
Order Replacement Sensor
Find the exact sensor model for your Hisense dehumidifier. Check the user manual or the label on the old sensor for part numbers. Buy the replacement from a reliable Hisense parts supplier. Avoid generic sensors to ensure compatibility and performance.
Install New Sensor
Unplug the dehumidifier before starting the installation. Locate the old humidity sensor near the air intake. Carefully disconnect the wires and remove the sensor. Attach the new sensor by connecting the wires exactly as before. Secure it in place without forcing any parts.
Verify Proper Installation
Plug the dehumidifier back in and power it on. Watch for error codes or unusual behavior. Check if the E9 error disappears from the display. Test the sensor by monitoring humidity changes. Confirm the new sensor reads accurately and the unit runs smoothly.
When To Seek Professional Help
Knowing when to seek professional help is crucial for fixing the Hisense dehumidifier error code E9. Some issues go beyond simple troubleshooting. Attempting repairs without enough knowledge can cause more damage or risk your safety. Recognizing the signs that indicate a serious problem helps you decide the right time to call an expert.
Signs Of Control Board Failure
The control board manages the dehumidifier’s functions. If the error code E9 persists after basic fixes, the board might be faulty. Other signs include unresponsive buttons, random shutdowns, or the display flickering. Strange smells or burnt marks near the control panel also suggest damage. These symptoms need a professional’s diagnosis and repair.
Handling Electrical Components Safely
Electrical parts inside the dehumidifier can be dangerous. Always unplug the unit before opening it. Avoid touching wires or circuit boards without proper tools. Static electricity can harm sensitive parts. Professionals use special equipment and know how to avoid electric shocks. Leaving electrical repairs to experts keeps you safe and prevents further damage.
Finding Qualified Technicians
Choose technicians experienced with Hisense appliances. Check if they have certifications or positive reviews. Local service centers or authorized repair shops are good options. Explain the error code and the steps you took. A skilled technician can quickly identify the problem and fix it properly. Investing in expert help saves time and money over trial-and-error attempts.
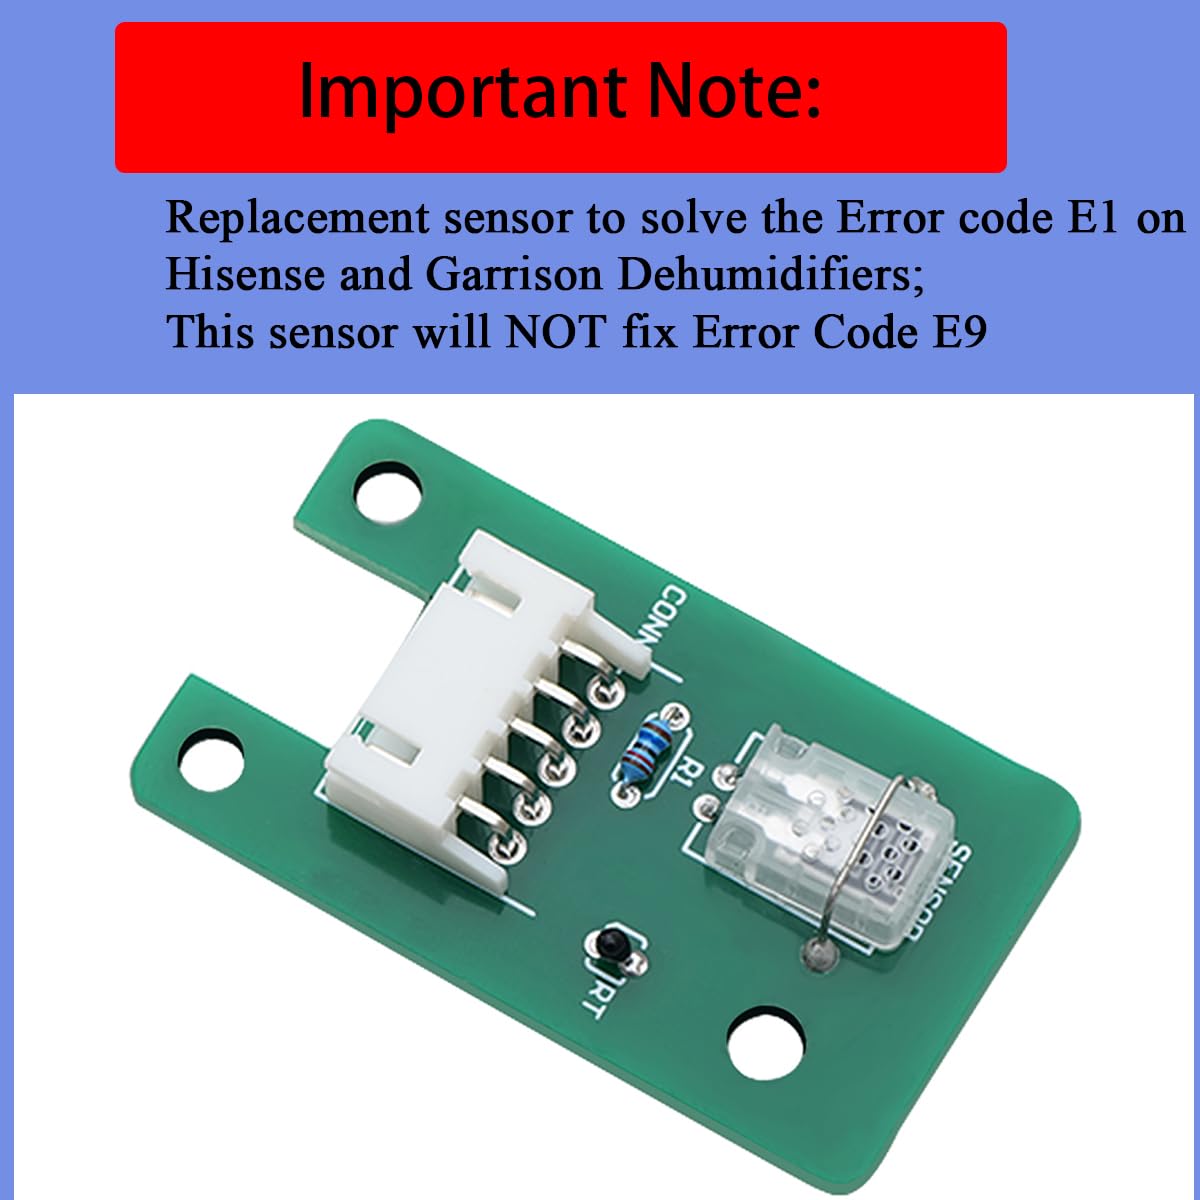
Credit: www.amazon.sa
Preventive Maintenance Tips
Preventive maintenance helps avoid errors like Hisense dehumidifier’s E9 code. Small, regular care keeps your unit working well. It reduces sensor issues and improves performance. Follow these tips to extend your dehumidifier’s life and maintain efficiency.
Regular Cleaning Schedule
Clean your dehumidifier’s air filter every two weeks. Dust and dirt block airflow and cause sensor errors. Wipe the humidity sensor gently with a soft cloth monthly. Keep the water tank clean to prevent mold and sensor faults. Regular cleaning stops buildup that triggers error codes.
Proper Unit Placement
Place the dehumidifier in a well-ventilated area. Avoid tight corners or behind furniture that block airflow. Keep it away from direct sunlight and heat sources. Proper placement helps sensors read humidity correctly. Good airflow prevents overheating and sensor malfunction.
Routine Sensor Checks
Check sensor connections every month to ensure they are secure. Look for loose wires or corrosion near the sensor. Test sensor function by comparing with a separate humidity meter. Replace sensors showing damage or inconsistent readings. Routine checks catch problems before error codes appear.
Frequently Asked Questions
What Does E-9 Mean On A Hisense Dehumidifier?
E-9 on a Hisense dehumidifier signals a humidity sensor error. Clean the sensor and check connections. Reset the unit. Replace the sensor if the error persists. Seek professional help if issues continue.
How Do I Reset A Hisense Dehumidifier?
Unplug the Hisense dehumidifier for five minutes. Clean the air filter and coils. Reconnect power and turn it on to reset.
How To Fix Error E9?
Unplug the device and clean the humidity sensor and air filters. Check wiring for loose connections. Reset by restarting. Replace the sensor if the error persists. Seek professional repair if the issue continues after sensor replacement.
What Does E-9 Mean On A Dehumidifier?
E-9 on a dehumidifier indicates a humidity sensor error. Check, clean, or replace the sensor to fix the issue.
What Does Hisense Dehumidifier Error Code E9 Mean?
Error code E9 shows a problem with the humidity sensor or its connection inside the unit.
Conclusion
Fixing the Hisense dehumidifier error code E9 often needs simple steps. Start by unplugging the unit to ensure safety. Clean the humidity sensor and air filters gently to remove dust. Check all wiring for loose or damaged connections. Make sure the water tank sits correctly and the float switch moves freely.
After these checks, restart the dehumidifier to see if the error clears. If the problem continues, replacing the humidity sensor might help. For deeper issues, seek professional repair to avoid damage. Regular care keeps your dehumidifier working well.